
Teams Voice and Face Recognition
A common question I get asked when talking to customers about Copilots Intelligent Recap feature is “How does it work for in-person meetings?”. The answer is “it depends”. Copilot depends on the meeting transcript and by default, multiple participants in a room get given the names “Spearker 1, Speaker 2 etc.
Another somewhat related topic is Teams meeting and call voice quality. As people work from all sorts of different places now, they can join calls from home, a busy office, an airport etc. Remote working means there is a bigger gap between someone in a quiet booth in an office and someone who is in a room with multiple conversations happening in the background. With the right setup though, this experience can be improved.
Voice and face recognition in Teams is a feature that allows users to upload their voice and face data to the Teams service for use in identifying them in meetings that are help in Teams Rooms (this does require a specific setup which I’ll get into later). Voice recognition also works to help improve noise cancellation by using voice isolation on Teams calls by filtering out other voices.
Voice recognition isn’t enabled by default though so there’s a few steps we need to take to get started.
Teams Meeting Room Requirements
Microsoft list the following requirements for Teams room hardware to benefit from voice recognition / Intelligent Speaker:
- Teams Rooms on Windows
- To ensure best precision for the transcript, we suggest limiting the number of in person attendees to a maximum of 10 people.
- People to be identified in the room, need to be enrolled with their voice profile and be invited to the scheduled meeting.
- The current limitation for people invited with voice profile is currently 20.
- To support high-quality audio and video during meetings, we recommend that the meeting room has an upload speed of at least 7 Mbps.
Update the Teams Meeting Policy
The first step is to enable the policy settings in the Teams Meeting policy. Before connecting, make sure your Teams PowerShell module is up to date with the PowerShell cmdlet:
Update-Module MicrosoftTeams
To enable user enrollment of voice data, the following cmdlet will enable the feature for all users in the meeting policy you select:
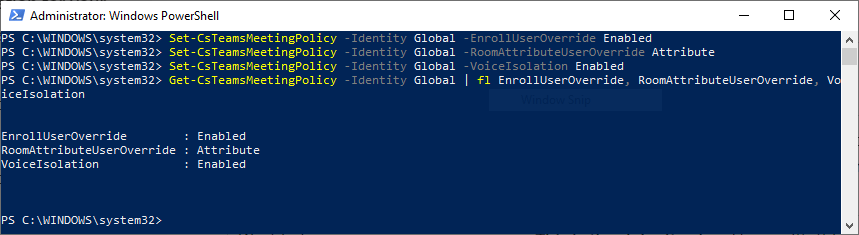
Set-CsTeamsMeetingPolicy -Identity <Your meeting policy here> -EnrollUserOverride Enabled
To enable attribution in Room meetings (i.e. link a voice to a speaker), run the following cmdlet for your meeting policy:
Set-CsTeamsMeetingPolicy -Identity <Your meeting policy here> -RoomAttributeUserOverride Attribute
Finally, to enable the voice isolation feature for users, run the following cmdlet for your meeting policy:
Set-CsTeamsMeetingPolicy -Identity <Your meeting policy here> -VoiceIsolation Enabled
In Figure 1, I have enabled all three options in the Global Teams meeting policy and then retreived the policy settings to validate.
Even though we have configured the Teams meeting policy, these settings also apply to voice isolation in Teams calls.
Uploading your voice and face profile
Once the policies have kicked in (If you want to speed this up on your Teams client you can remove cached data by deleting the Teams folder at %appdata%\microsoft), you should be able to update your voice and face data from the Settings -> Recognition page of the Teams client.
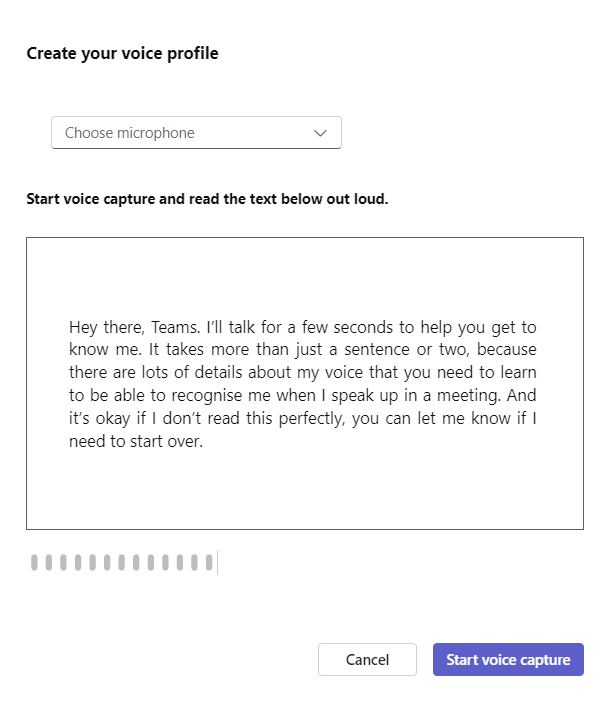
Uploading voice data is pretty easy, read out the text shown in Figure 2 while Teams records and monitors your speech.
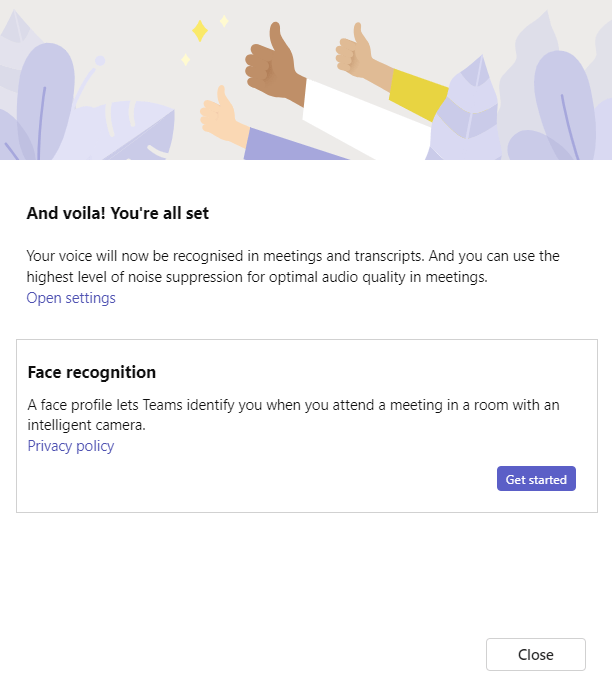
You will then be prompted to upload your face data which involves allowing Teams to take multiple pictures of your face from nine different angles.
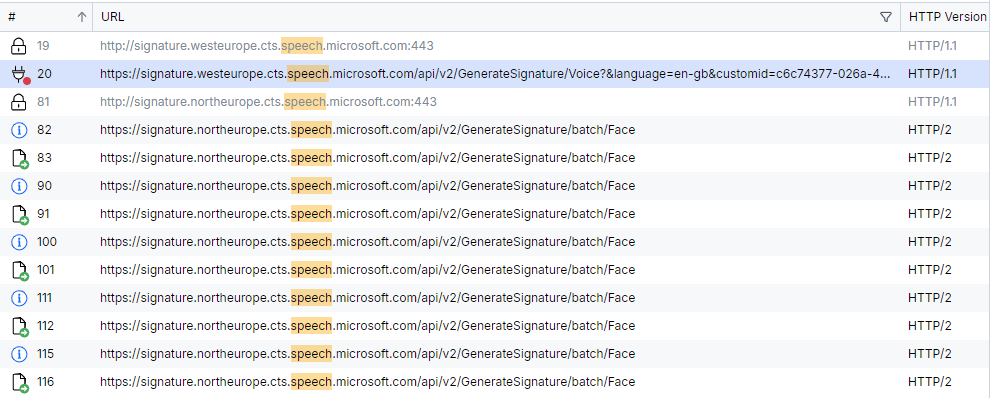
I decided to see if I could locate what Teams does with this data so before I started the process, I enabled Fiddler and from what I can see from the logs the data was uploaded to an endpoint somewhere in West Europe which is my tenant region.
Testing it Out
So as I wrote this over a weekend, I didn’t have a Teams Room to test with but I did connect to a Teams meeting with recording enabled. I found a video online with ten hours of people talking in the background (No idea why that exists but it was useful!). I then ran three tests:
- Test 1 had noise suppression turned off completly
- Test 2 had noise suppression turned on for background noise only
- Test 3 has voice isolation enabled
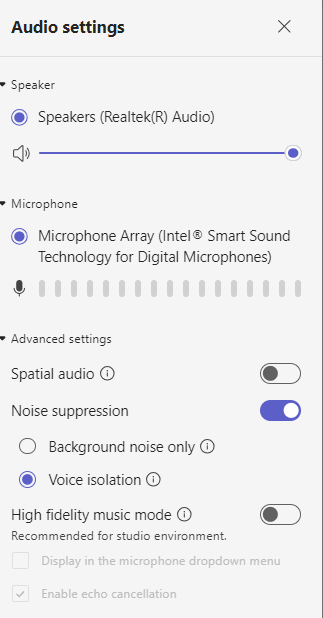
I also recorded each of the tests with my laptops built-in microphone which is pretty basic. The noise suppression controls are available in the audio settings of a Teams meeting (Figure 5).
Results
During the first test it was pretty hard to hear my voice over the background noise. I could make out what I was saying but not a great experience.
The second test was a much better experience, cancelling out most of the background noise but also distorting my voice in places, definitely workable.
The final test, with voice isolation enabled was much clearer. It filtered out the background chatter while also maintining the quality of my own voice. Definitely the best experience.
I was actually pleasently surprised by the quality of the final product and definitly think it can enhance anyones experience using Teams for calls and meetings. While I didn’t get to test the meeting experience yet, I can see how it shows promise in improving the experience there too.
