
Due to some recent project requirements, I had a need to find a method of migrating Microsoft Planner Plans from tenant to tenant. Our customer was undertaking a tenancy consolidation and in the source, Planner was used extensively; this data held a lot of value to the business. There are very few tools on the market that support this migration and after some research I decided to build something bespoke to support the migration.
This quickly became something that was very useful for me and after putting in some extra work to clean it up, I decided to build it out into a tool that I could share with the community. I’ve uploaded the source code to GitHub here.
What gets migrated?
Using this tool, we migrate the following aspects of a Plan:
- Plan Name
- Custom Categories
- Buckets
- Tasks
- Task details:
- Task title
- Bucket Assignment
- Percent complete
- Assigned Categories
- Due Date
- Notes
- (Optional) User Assignments
This content is migrated from an existing Plan instance into a target Microsoft 365 Group. It will not merge with an existing plan (although that functionality could be added in the future).
Preparing the environments
To get our environments ready to run the tool there are a few steps we need to take in each tenant:
- Assign migration user licenses
- Assign migration user permissions
- Create Application Registrations
- Grant Delegated Permissions
- Allow Public Client Flows
Each of these steps is detailed further below:
Source Tenant Configuration
The following steps need to be taken in the source tenancy.
Assign Migration User Licenses
The user account being used to migrate must have a valid Office 365 license including Planner. Assign this in the Microsoft 365 Admin Portal.
Assign Migration User Permissions
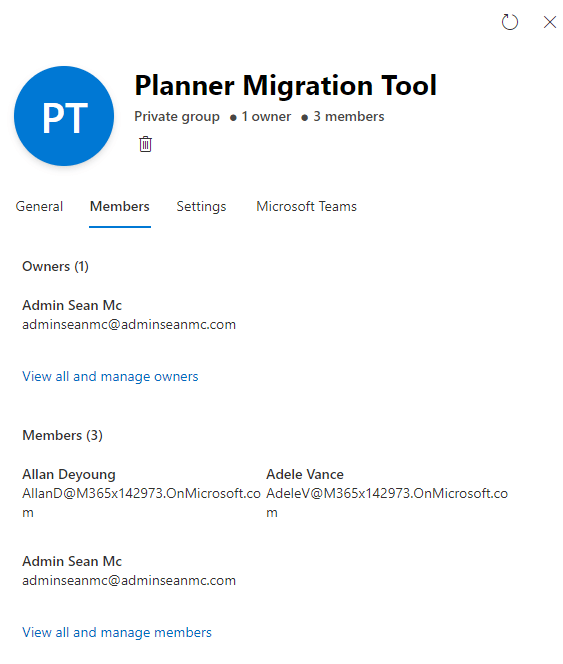
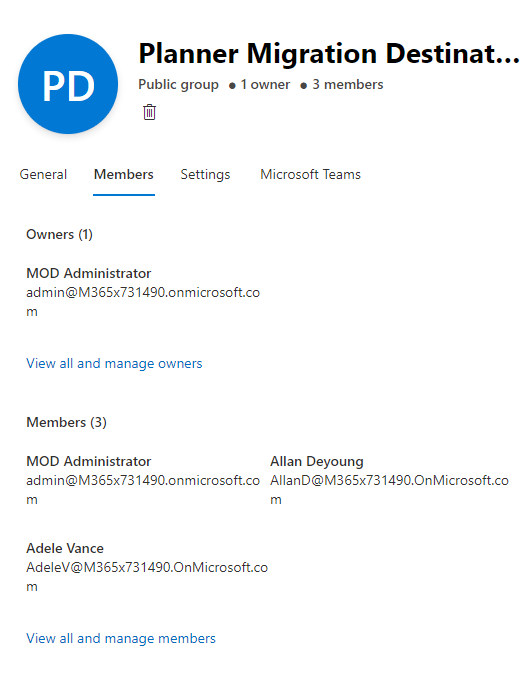
As a Plan is created as a component of an Office 365 Group, the user account being used to migrate must be an owner and member of any Office 365 groups containing plans that need to be migrated. The below group is the container for the plan we will be migrating
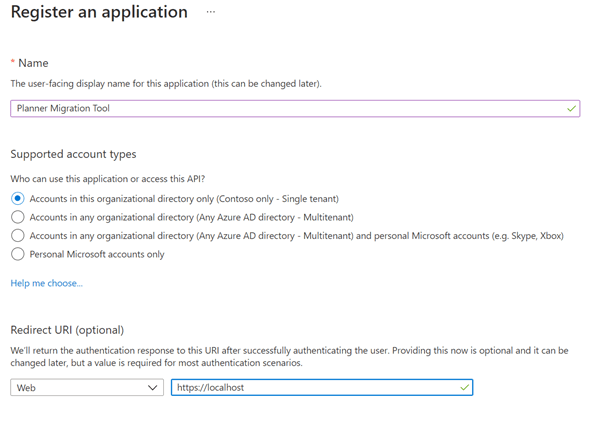
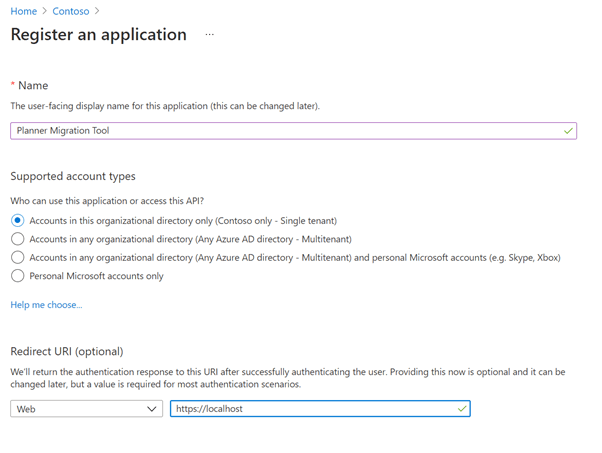
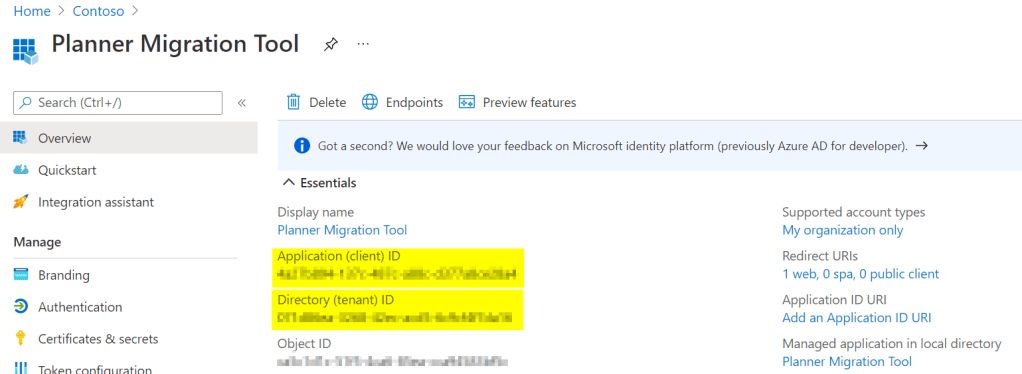
Create Application Registration
From the Azure Active Directory portal, create a new Application Registration, give it a descriptive name and endure the Redirect URI is set to “https://localhost”.
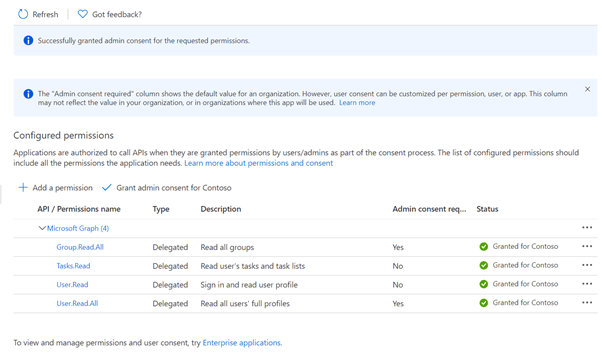
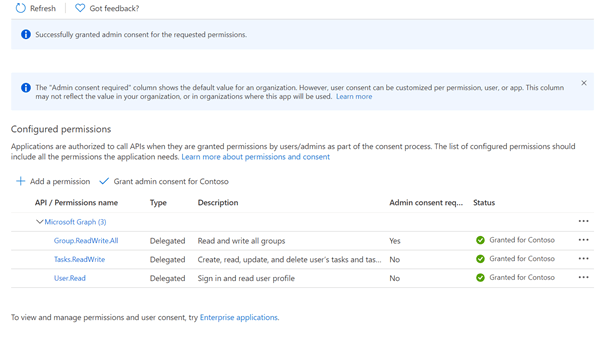
Next, on the API permissions blade, add the following delegated permissions and don’t forget to Grant admin consent.
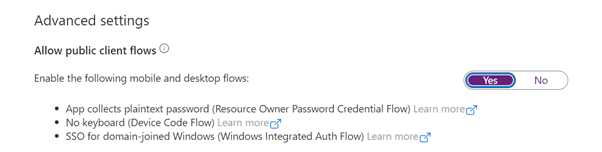
Finally, on the “Authentication” blade, enable the option to “Allow public client flows”.
Destination Tenant Configuration
The following steps need to be taken in the Destination tenancy.
Assign Migration User Licenses
The user account being used to migrate must have a valid Office 365 license including Planner. Assign this in the Microsoft 365 Admin Portal.
Assign Migration User Permissions
The user account we are using to create the plan in the destination needs to be a member and an owner of the target group. I’ve created the below group as a destination and added my admin account as an owner and member. We will also need to add in any members that we may need to assign tasks to if we are mapping user assignments – this is optional and only required if we want to map assignments.
Create Application Registration
From the Azure Active Directory portal, create a new Application Registration, give it a descriptive name and endure the Redirect URI is set to “https://localhost”. Note that the permissions are slightly different for the destination as we need to be able to write to the Group/Plan, not just read.

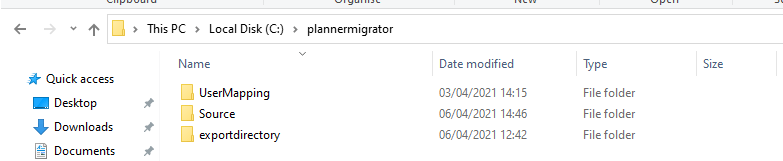
Preparing the tool
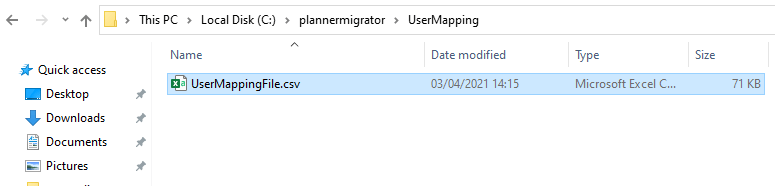
Before we run the tool, we have a few final preparation steps to perform. Our first step is to download the tool and copy it to the root of our C: drive. The folder structure will look like the below.
We also need to install the MSAL.PS PowerShell Module with the below command:
Install-Module -Name MSAL.PS (Optional) Configure User Mapping File
If we plan to reassign tasks in the destination we need to provide a mapping file. This file allows us to link a source user account to the same user on the destination. The user mapping file is located in “PlannerMigrator\UserMapping\UserMappingFile.csv”.
The mapping file requires the following attributes to map users:
- SourceUPN – This is the User Principal Name of the user in the source tenant
- SourceObjectID – This is the ObjectID of the user in the source tenant
- TargetUPN – This is the User Principal Name of the user in the target tenant
- TargetObjectID – This is the ObjectID of the user in the target tenant
We can collect the data to fill out this mapping file by running the below commands in the source and destination:
Connect-AzureAD
Get-AzureADUser -All:$true | select userprincipalname,objectid
We also only need to add users that are assigned tasks in the Plans we are moving. If we are moving a large amount, it might be easier to include all our users in the mapping file. We can also reassign tasks to different users by mapping the source user to our desired target replacement. Below is an example of the mapping file:

Running the Migration
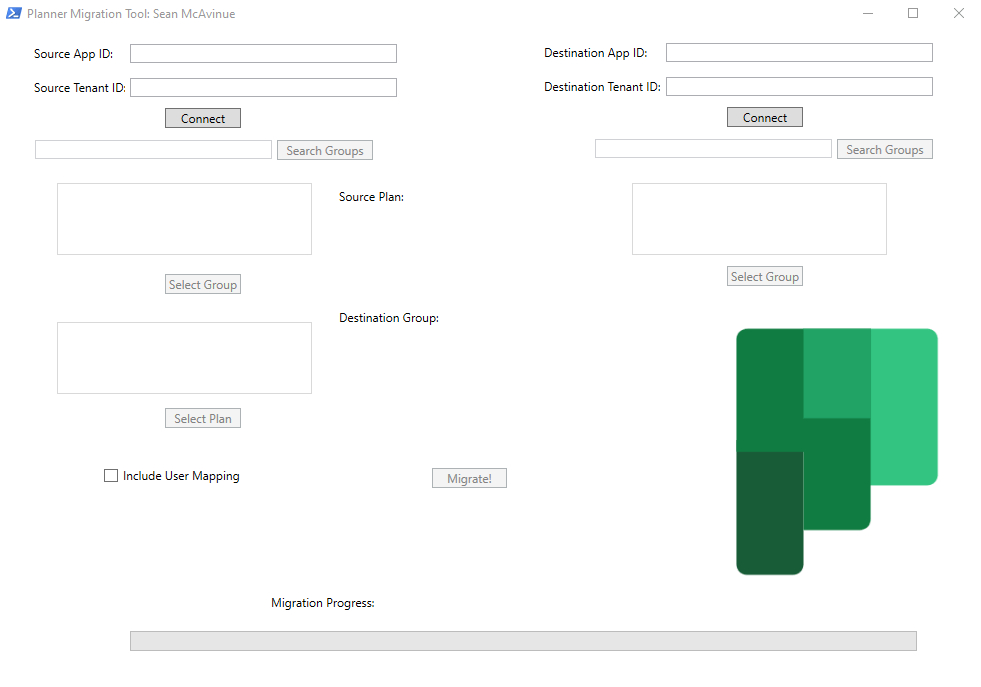
With everything in place, we can now run the migration tool. Open up PowerShell and navigate to the source folder “C:\plannermigrator\Source”. From here run the command “.\graph-PlannerMigrationTool-GUI.ps1” to start the tool.

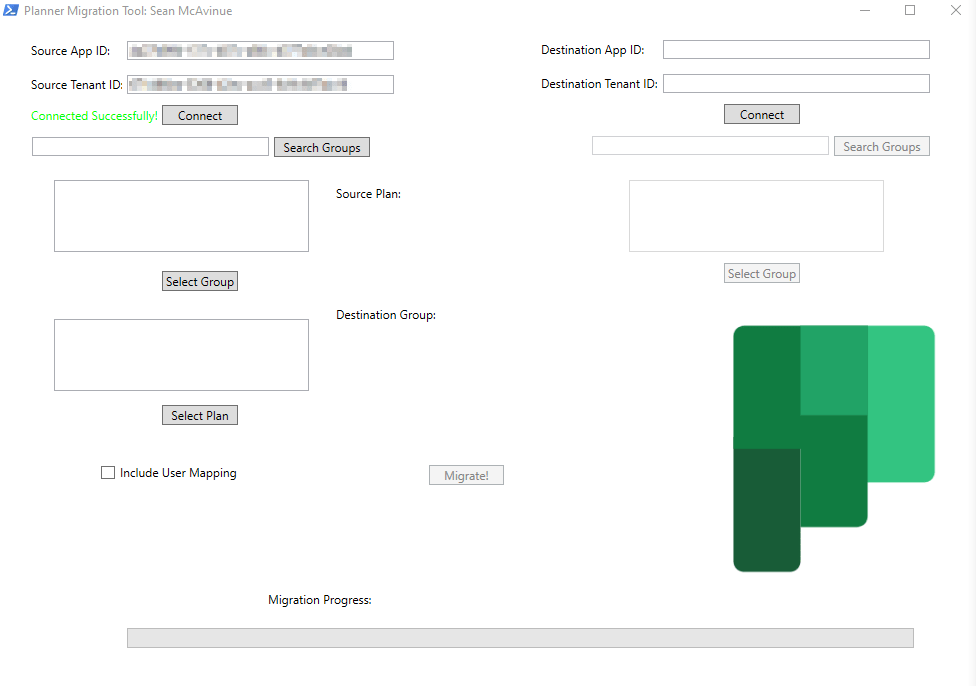
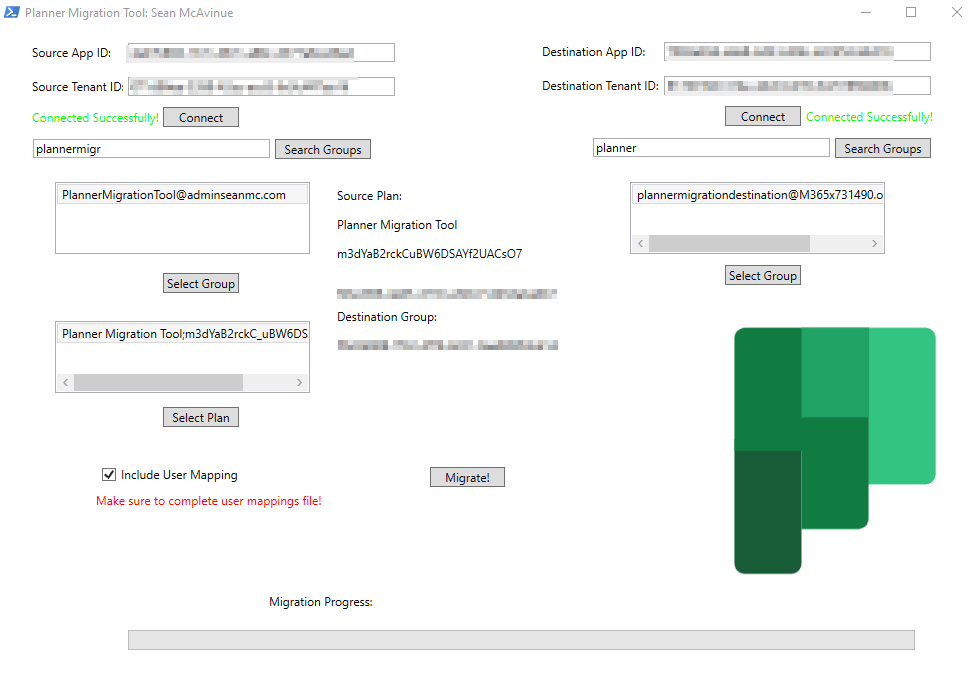
The tool is split into a GUI and the PowerShell output which can be used to view status and outputs. The GUI is split into two sides, the Source settings and the Destination settings.
Connect to the tenants
The first thing we need to do is connect to our source tenant. In the “Source App ID” and “Source Tenant ID”, enter the client ID of the application registration we created earlier and the directory ID of the source tenant respectively.
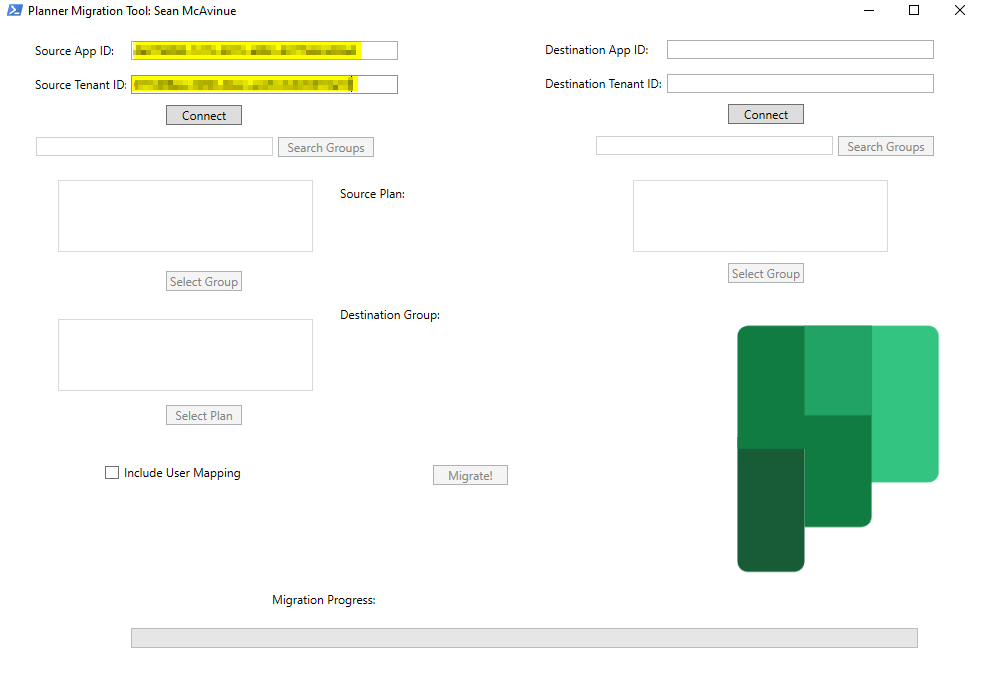

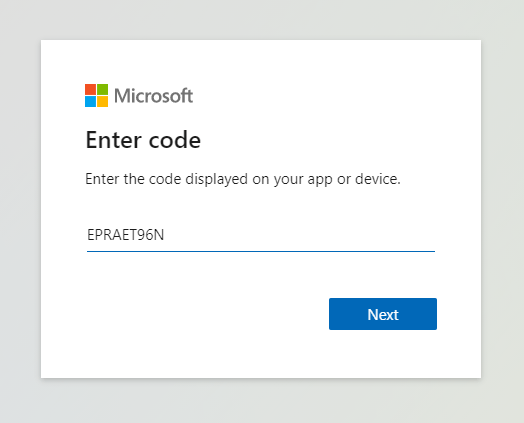


If everything is done correctly, you’ll see the “Connected Successfully!” message in the GUI and the rest of the source config will be unlocked:
If the migration is between two plans in a single tenant, simply perform the same steps using the same tenant details both times.
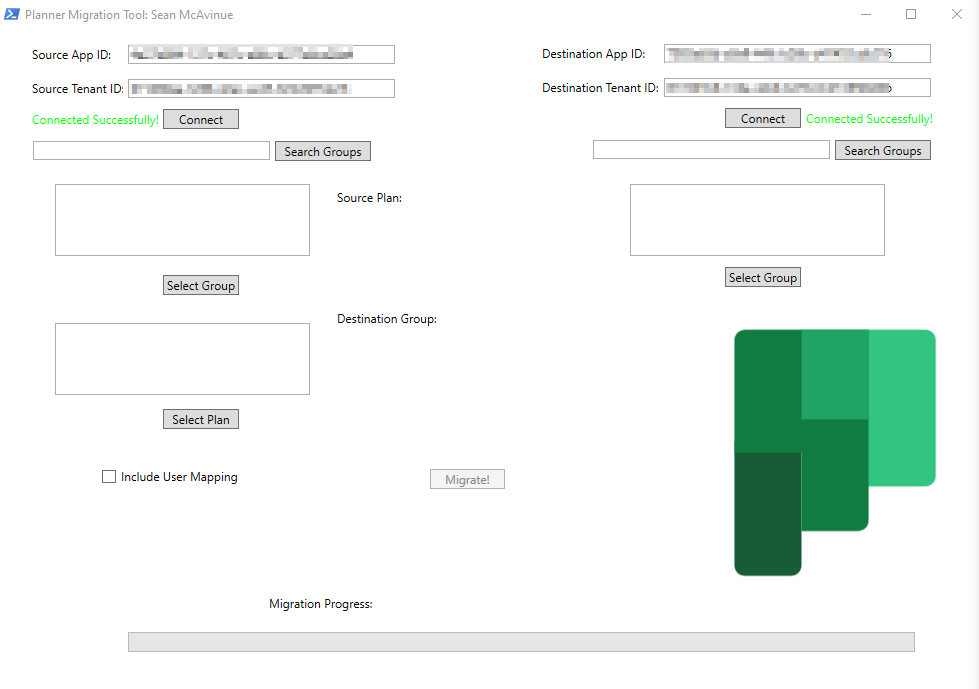
Select Source Plan
To select the Plan we want to migrate, search for the email address of the group containing the plan in the “Search Groups” dialog, click on the group you want to select.
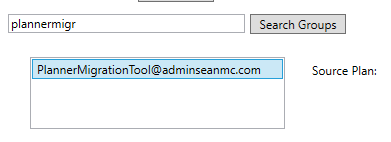
Next, choose “Select Group” to see a list of plans for the selected group.
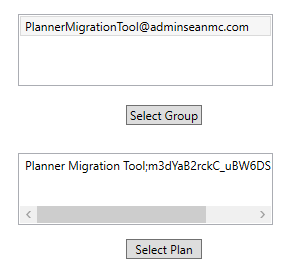
Click on the Plan to migrate and click “Select Plan” to select it. When selected we will see the Plan and Group ID listed under the “Source Plan” section in the center pane.

Optionally, Enable User Mapping
If we have prepared the user mapping file earlier and it is in the right location, we can tick the box for “Include User Mapping” to reassign tasks in the new tenant. If we don’t use user mapping, the tasks will still be moved but not assigned to anyone.

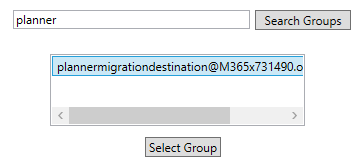
Select Target Group
Next, search for and select the group in the destination domain the same way we selected the source Group. We don’t specify a Plan on the destination as this is a new plan that will be created.
Once the Source Plan and Destination Group have been selected, the “Migrate!” button will become available.
Migrate!
With everything in place, hit “Migrate!” to kick off the process.
We can see the activity in the PowerShell window to give us an idea of what’s going on.

Once Finished, We can click “Start Over” to restart the process for another Plan.

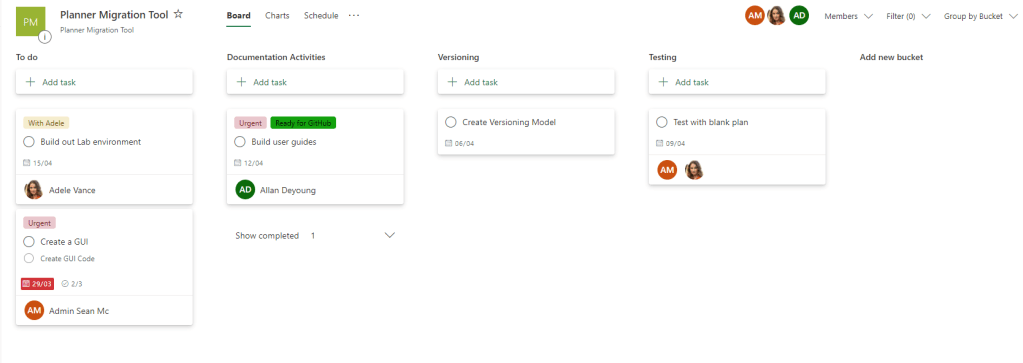
Verify the Results
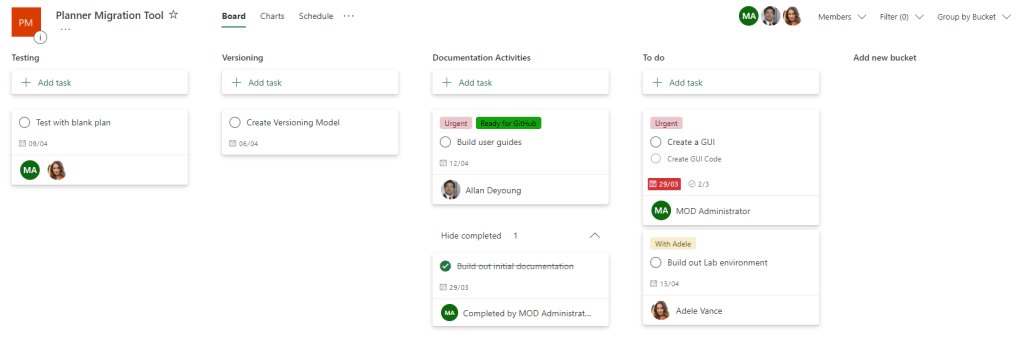
Taking a look at the source and destination plans we can see that our content was brought over successfully.
Original Source Plan

New Plan in the Destination

Summary
And that’s it! The tool is an initial version and I’m sure I can make a lot of improvements over time but I was really happy with how it came together and the gap it filled in my day job. I hope it’s helpful for people and I hope to create more solutions like this in the future.

Pingback: 7 Tips for Working with the Graph API in PowerShell – Sean McAvinue
Great stuff. Altosio now has a similar SAAS solution to migrate Trello, Planner and Asana.
https://altosio.com
LikeLike