
Don’t Lose Access To Your Emergency Accounts
With recent moves from Microsoft to enforce MFA for admin portals access, this raises a problem for many tenants with emergency access / break glass accounts. In line with this, Microsoft recommendations around these accounts has been updated with the following note:
Starting July 2024, Azure teams will begin rolling out additional tenant-level security measures to require multi-factor authentication (MFA) for all Users. As already documented use strong authentication for your emergency access accounts. We recommend updating these accounts to use FIDO2 or certificate-based authentication (when configured as MFA) instead of relying only on a long password. Both methods will satisfy the MFA requirements. – Microsoft Learn
So with the updated guidance, all tenants should be looking into enabling FIDO2 or CBA for authentication for emergency access accounts. My preference is a FIDO2 hardware token as they can be physically secured in a safe location.
In this article, I’ll go through what you need to do to set up FIDO2 authentication for your break glass accounts.
Setting Up The Authentication Policy
Before setting up the authentication policy, make sure you have a supported security key, for a list of supported keys, check out this article. Once you’re happy you have your security key, navigate to the Microsoft Entra admin portal to get started.
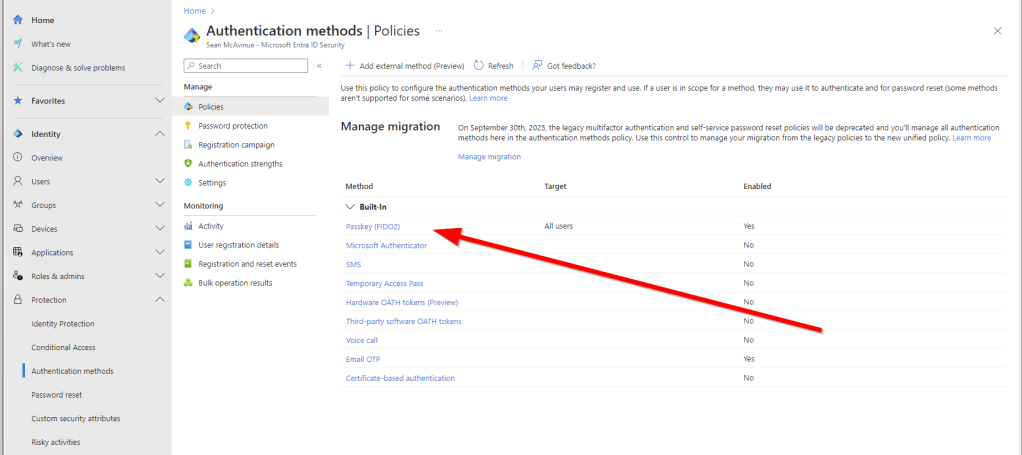
From the Entra admin portal, navigate to “Protection” -> “Authentication Methods” and select “Passkey (FIDO2)” as shown in Figure 1.
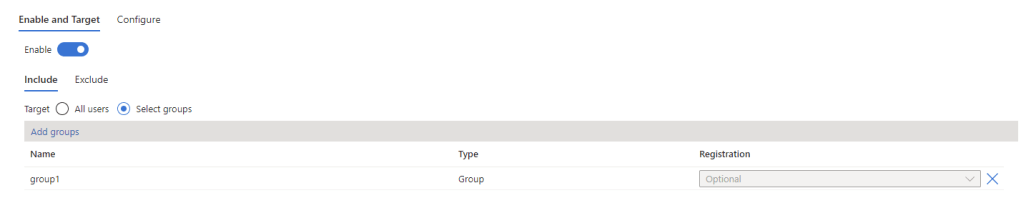
If you have’t previously configured FIDO2 in your tenant, the authentication method will be disabled. To enable it for just your break glass accounts, create a new security group containing the accounts and use the “Select Groups” option to add the group as shown in Figure 2.
On the “Configure” page, configure the options as described below:
- Allow self-service set up: This needs to be enabled to allow you to set up the key
- Enforce attestation: This should be enabled if possible. Enforcing attestation will validate the key being used against the FIDO Alliance Metadata Service. If your key is supported then you can enable this. Note that the authenticator app is NOT supported and you can’t enable attestation enforcement if you use the authenticator app elsewhere in your environment.
- Enforce key restrictions: Enable this settings to limit the keys that can be used in your tenant to specific AAGUIDs as I described in my previous article here. Also note, if you use the authenticator app or other FIDO2 keys n your organization, enabling this without updating the list of AAGUIDs will prevent them from working.
If you have followed my previous article on passkeys, you will probably have a configuration in place already, similar to Figure 3.

In this case, you need to add the AAGUIDs of your key to the list of allowed keys. The AAGUIDs for your key should be available from your key vendor, for example Yubico here.
Register Your Key
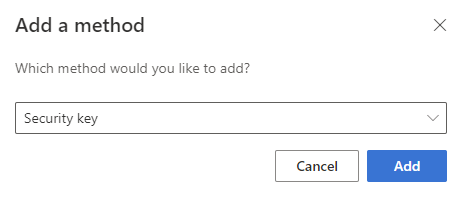
To register your key, sign in to https://mysignins.microsoft.com/security-info as your break glass account. Select the option to “Add Sign-in method on this page and select “Security key” as shown in Figure 4.
On the next page, select the security key type (Figure 5).
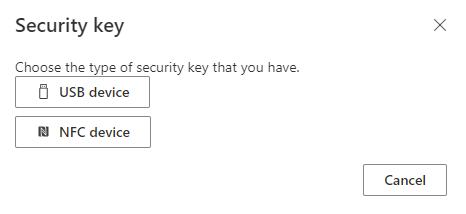
From the window that pops up, select “Security key” to set up your key (make sure they key is inserted to the workstation).

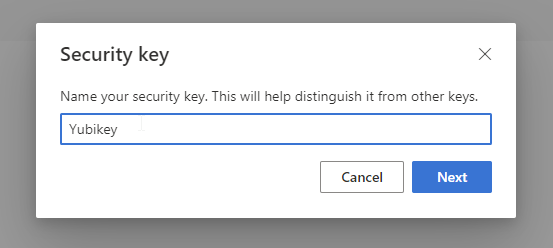
The security key will guide you through the setup process on your PC, for example setting a PIN on they key and touching the sensor to verify you are physically present. Finally, give the key a name and click next (Figure 7).
Signing In
It’s important with Break Glass accounts to test them so when / if you need them, you know they’re available. Next time you sign in, choose the option to use a security key and follow the instructions to sign-in, similar to Figure 8.

Summary
Setting up an authentication method for your break glass account isn’t an optional task, if you want to continue to use it in the event of an emergency, make sure you are covered using the steps outlined here. If you have two break glass accounts then two FIDO2 keys are a pretty cheap way to get the peace of mind you can get back into your tenant in an emergency!
