
Save Time With PowerShell
I recently came across a requirement in a customer project to assign colors to an existing choice column in a SharePoint Online document library. This is a pretty simple task that can be completed in s hort amount of time using the GUI. The issue was, there were a large number of sites to be updated (thousands!) with a large number of choices in each column.
Looking at the problem, I decided to see if PowerShell could help here, and of course, it can! In this article we’ll look at the issue and how we can use PowerShell to overcome it.
The full code and source files used in this article are available on GitHub here.
Assigning Colors to Choice Column Values
The normal way to of updating colors in a choice column would be to edit the colum and update the color for each tag as shown in Figure 1.
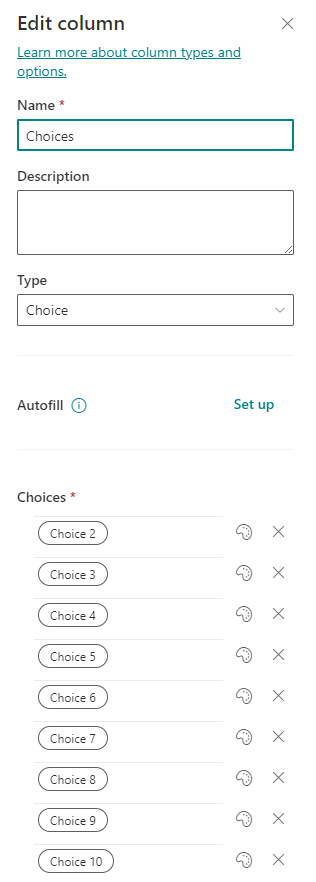
For basic setups this is fine and can be done relativly painlessly. We also have the option to use a JSON formatter on the column to automatically set up the color choices. This is the option I thought would help me, but I still needed the actual JSON file. This file also needs to reference each choice in the content of the JSON, which is also a time consuming exercise to get right.
The Solution
After putting some thought into it, I exported an example of the JSON formatter required from a site I set up manually, and then broke this into four components.
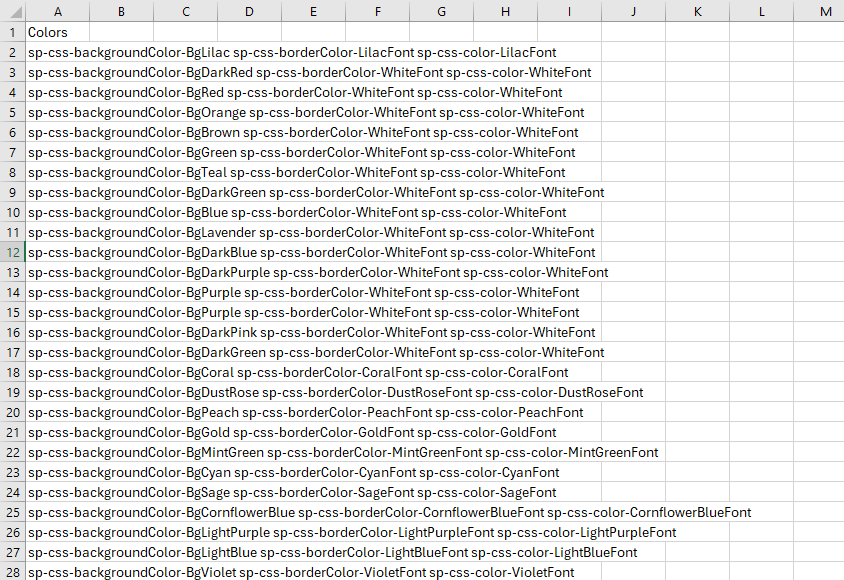
The first component is a CSV file (example shown in Figure 2) which listed every color I wanted to set.
The nest component is a JSON file named “Start-formatter.json”. This file contains the portion of the JSON formatter that goes at the start of every formatter (Shown in Figure 3). I could use this to start off building my own custom formatter dynamically. This isn’t a complete JSON file, but is used as the start of the final output file.

Next is a file named “Per-item-Formatter.JSON”. This is where the heavy lifting happens. This file contains the block of text required for each entry that we want to set colors on (Figure 4). It also contains two very important components, “{TAGPLACEHOLDER]” and “{ColorPlaceholder}”. These two placeholders will be replaced in our script with the name of a choice and a color from out CSV file.

The final component is “End-Formatter.JSON”. This file contains the text that should go at the end of our automatically created formatter as shown in Figure 5.

With all these components in place, I created a PowerShell script named “Update-ColumnColors.ps1” which uses these files as inputs.
The Script
The script is pretty striaghtforward but the below gives a breakdown of what it does:
- Asks the user to enter the site URL, client ID and Tenant name
- Connects to the site using PnP PowerShell
- Gets the default document library
- Gets the “Choices” column on the library
- Imports the JSON files mentioned above
- Starts the formatter with the “Start-Formatter” JSON file
- For each choice in the column, adds another copy of the “Per-item-Formatter” JSON file, replacing the placeholders with the name of the current choice and the next color in the CSV. If the script gets to the end of the CSV, it goes back to that start.
- Does some tidying up of formatting
- Adds the content of the “End-Formatter” JSON file
- Saves the formatter to the JSONFormatter directory
- Updated the column
Ok, maybe not the most straightforward script but it gets the job done! The script runs pretty simply as shown in Figure 5. If you don’t have a client ID or tenant name, check out my previous article on Preparing for upcoming PnP PowerShell changes!

After the script runs, we can confirm the choices have all been assigned colors from the CSV file as shown in Figure 6.

Summary
And that’s it! This is a rare enought requirements but I thought it would be good to share as an example of some of the challenges you can overcome with a bit of creativity and a lot of PowerShell! Hopefully it comes in helpful for you and if you have similar solutions, I encourage everyone to share online so we can all learn together!
