With so many different productivity tools at our disposal today it can be hard to stay organized. We have apps like Planner and To-Do (which now roll up into Tasks in Teams) that can help track progress on work and remind us of our task list. We also have OneNote which is great for personal or shared note taking. We can flag or pin mails in outlook, pin channels in Teams and create collections in Edge. All of these tools help us work towards being organized and efficient but at times can feel disjointed, particularly when we are looking for flexibility for personal organization.
A underutilized tool that a lot of users swear by is the Notes in Outlook functionality, which essentially brings the Windows 10 Sticky Note function into the Outlook client. This functionality has been around for a long time but never really became a key feature as it was quite limited.
Microsoft’s new “Project Moca” tool aims to provide users with a flexible, user driven organizational space which can be used for a large array of use cases. Project Moca which is currently in preview, is based in Outlook on the Web and provides users with the ability to create a ‘space’ dedicated to a particular area such as projects, daily tasks, personal plans etc.
Enabling Project Moca in your Organization
To enable Project Moca all users or a subset of users in your Organization, we need to set it as enabled in the OWA Mailbox Policy for the users. If there are no custom policies then we can set in the default policy to enable for all users. Run the below command in Exchange Online Management Shell, entering the name of your desired policy:
Set-OwaMailboxPolicy <PolicyName> -ProjectMocaEnabled $true Once enabled it can take a little while to apply to all users.
Using Project Moca
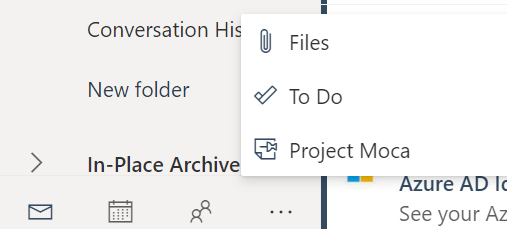
Once it is enabled, you will find Project Moca in Outlook on the Web from the Outlook module switcher at the bottom left:
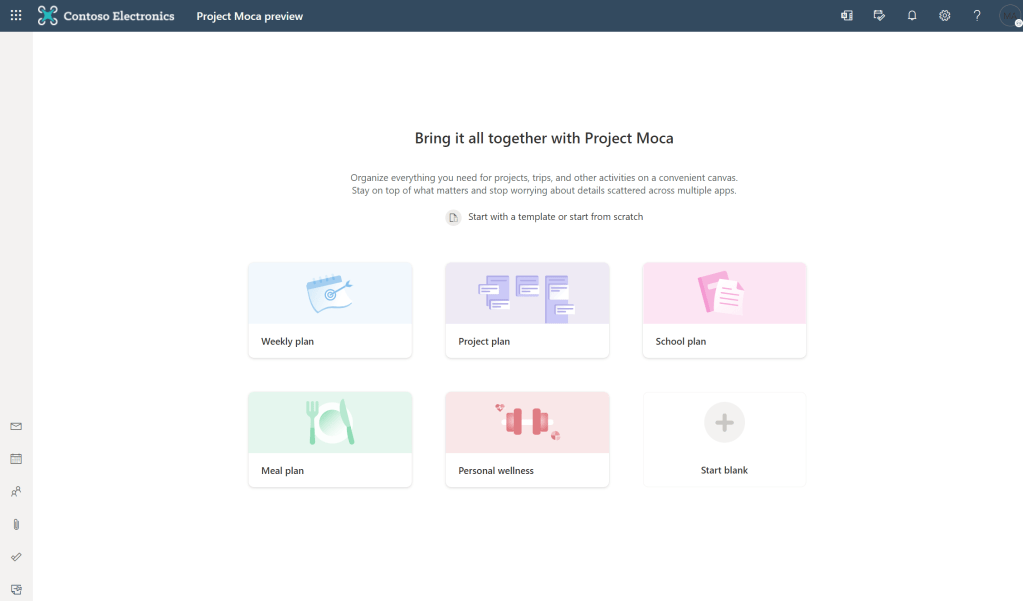
When we first navigate to Project Moca, we are given a list of templates to start from, or we can start a new space from scratch. Here I’ve selected a new Project Plan space where we can collect details about a new customer project:
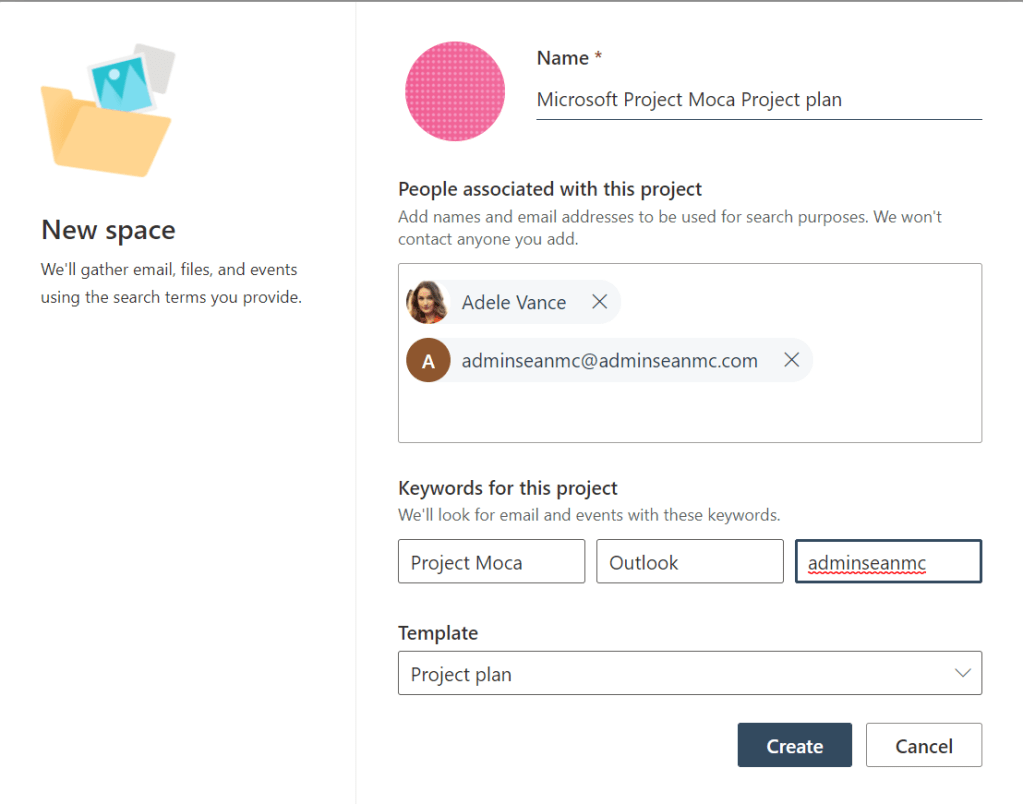
We give the space a name and add some keywords and people to help identify the content relating to this project:
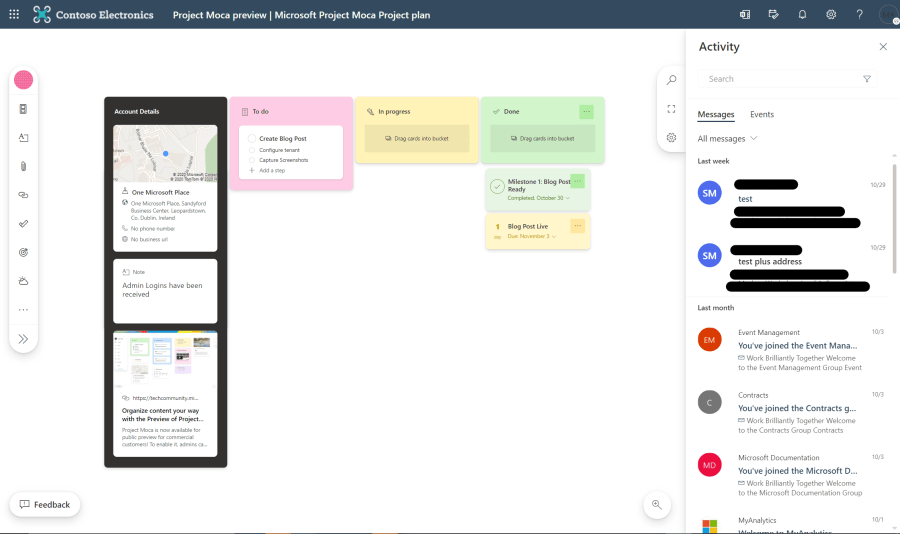
Now that our space is set up, we can begin adding content. We can add new buckets and post tasks, notes, documents, locations, weather, mails, URLs and events to our space and organize then into the buckets we create. We are also presented with a list of dynamically detected content based on the users and keywords we entered when we set up the space:

We can add touches like color and icons to each bucket to help keep things organized and easy to understand.
While Project Moca won’t suit everyone, there is a lot of flexibility here to help the people who buy into it to stay organized and capture a lot of information in one place. No doubt there will be improvements and additions over time but as a new addition, there are a lot of use cases for Project Moca, even if it won’t suit every user.

Pingback: Keeping Up With Change: Planning For Microsoft Teams Public Preview – Admin Sean Mc