One of the interesting features of Exchange Server 2019 is the ability to install it on Windows Server Core. This brings all the security and performance benefits of running Server Core to Exchange Deployments. In this post, I will go through the installation steps for Exchange Server 2019 on Windows Server 2016 Core.
Required Downloads:
- Exchange Server 2019 Preview
- Visual C++ Redistributable Packages for Visual Studio 2013
- Microsoft .NET Framework 4.7.1 for Windows 10 Version 1607 and Windows Server 2016 for x64 (KB4033393)
- NOT Unified Communications Managed API 4.0 Runtime (See Below)
First we copy our Exchange 2019 ISO and Prereqs folder to our target core server. We can do this through file explorer on another server or by using the ‘Copy-Item’ PowerShell command.


Next, install the minimum prerequisite roles onto the target server. The full list of required roles can be automatically added a part of the installation process. The minimum required roles are the Windows Server Media Foundation and Remote Server Administrator Tools for Active Directory Domain Services Roles.
Install-WindowsFeature Server-Media-Foundation, RSAT-ADDS
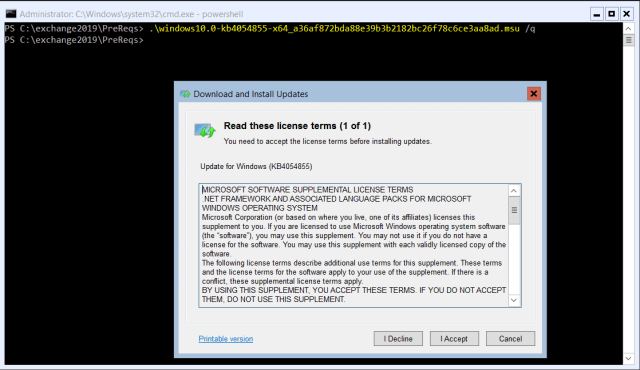
Now we install the prerequisite software listed above in the ‘Required Downloads’ section.

So far the install is very similar to past Exchange installs however we would usually download and install the Unified Communications Managed API 4.0 Runtime. As the UCMA 4.0 depends on certain dll files that do not come with Windows Sever Core, we do not download the files. Instead we use the installer which is made available on the Exchange 2019 install media.
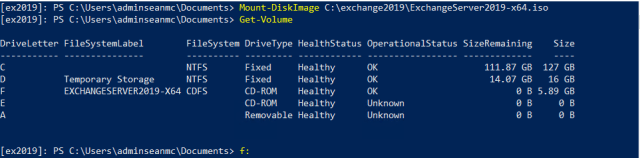
First lets use the ‘Mount-DiskImage’ command to mount our Exchange install media.
No let’s change to the \UCMARedist\ directory in the install media and run ‘Setup.exe’

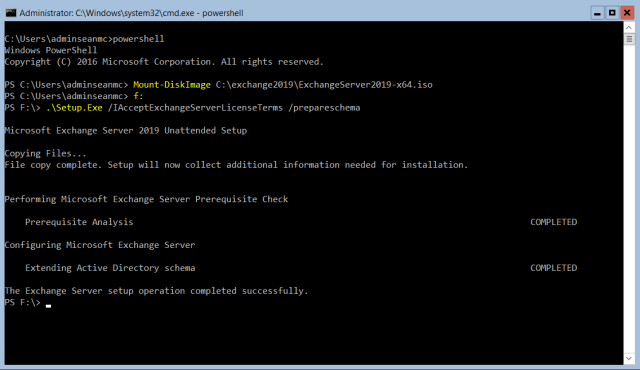
With all the prerequisites installed, now we can begin the Exchange Server Installation. This is the first Exchange 2019 server in the organization so we need to prepare the Schema using the /PS or /PrepareSchema flag for Setup.exe in the root of the installation media.
.\Setup.Exe /IAcceptExchangeServerLicenseTerms /ps
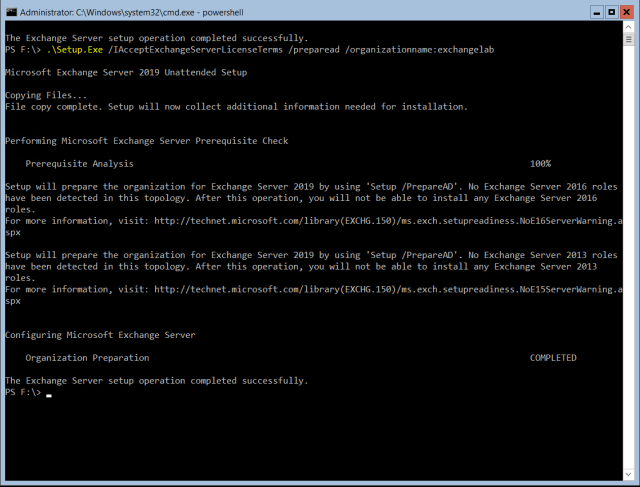
Once the Schema is Extended we will prepare AD and define the Organization name.
.\Setup.Exe /IAcceptExchangeServerLicenseTerms /preparead /organizationname:exchangelab
Finally, we can run the full Exchange Server 2019 Setup and specify we would like to install the required Windows components during setup.
.\Setup.exe /mode:install /IAcceptExchangeServerLicenseTerms /roles:m /InstallWindowsComponents

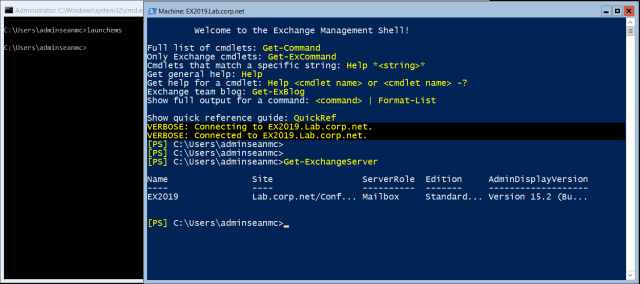
Once the installation completes and the server reboots, log on to the server and open the Exchange Management Shell using the ‘LaunchEMS’ command to begin configuring your new Exchange Environment.