
This post is part of the overall MS-500 Exam Study Guide. Links to each topic as they are posted can be found here.
This post will cover the following exam topics listed under the “Implement and Manage Device and Application Protection” section:
- Configure and manage exploit protection
- Configure Secure Boot
- Configure and manage Windows device encryption
In Part 1 of this post, we looked at configuring Application Guard and Application Control on our devices through Intune. In this part we will pick up where we left off with the same environment etc.
Configure and Manage Exploit Protection
Exploit Protection is a set of exploit mitigation techniques that is enabled by default on Windows 10 version 1709 and higher. There are a number of protections such as Data Execution Prevention and Import Address filtering (Full listing here) which we can use to protect our devices against common exploits.
Exploit Protection can be enabled via the Windows Security app on Windows 10 where we first configure out default system settings for each protection.
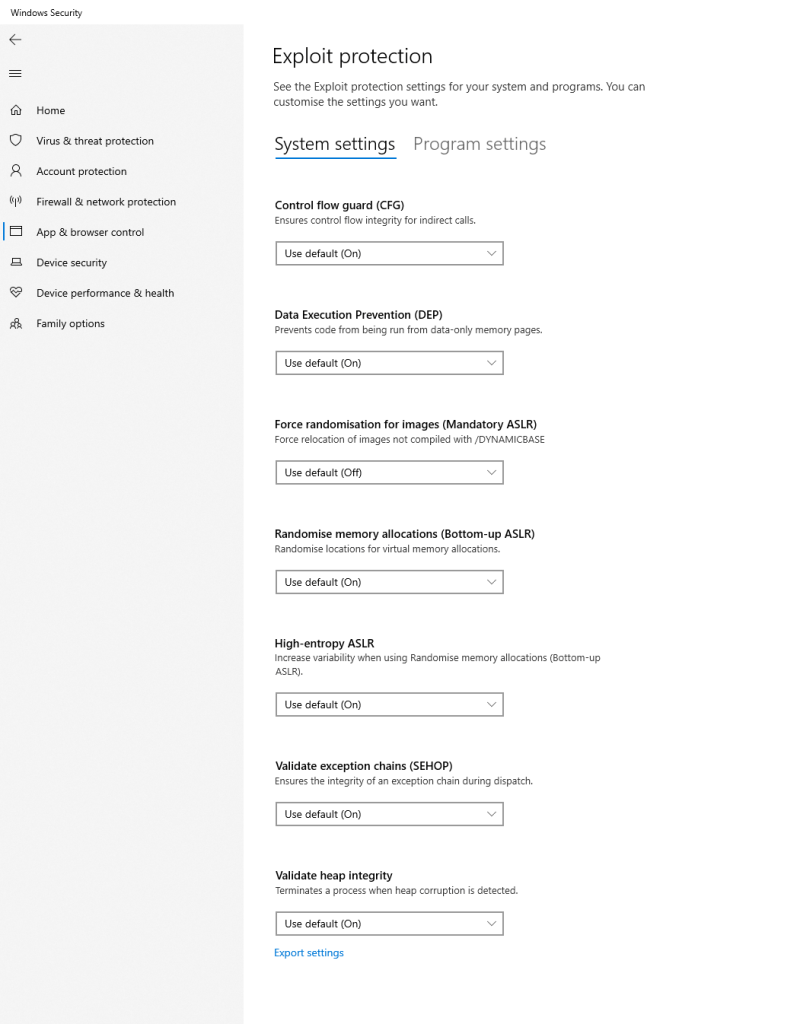
Then we can override the default for specific programs on the Program Settings page. We can configure several settings for each protection to enforce the protection or configure audit only mode if we like.
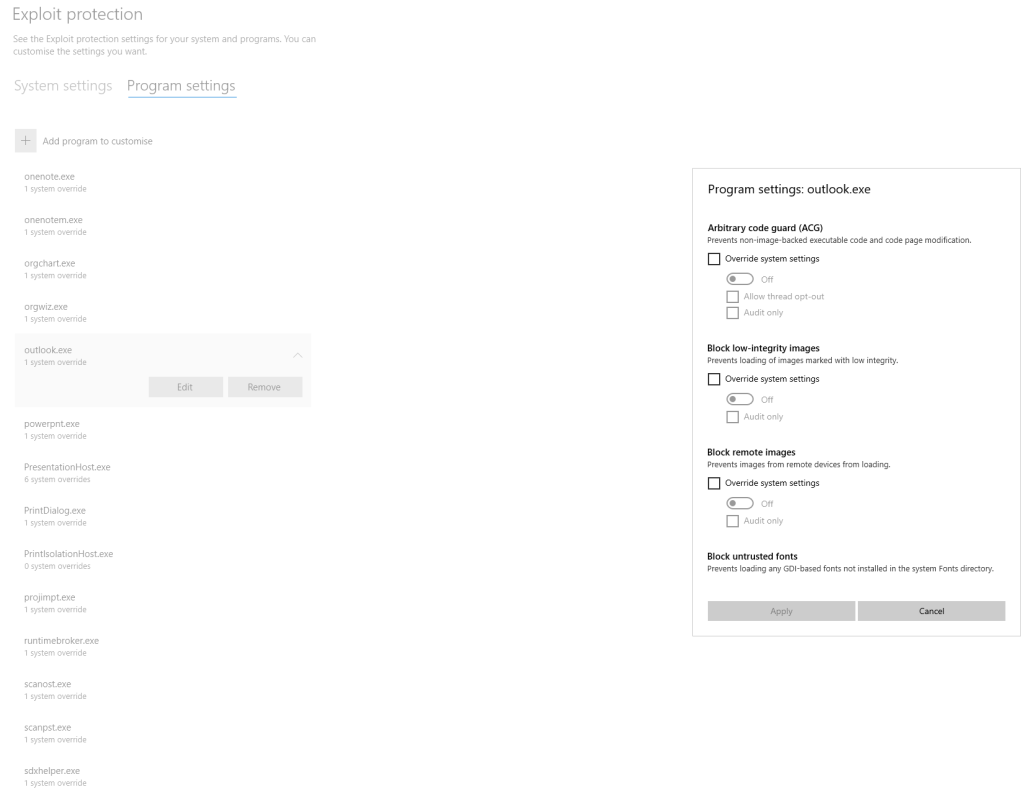
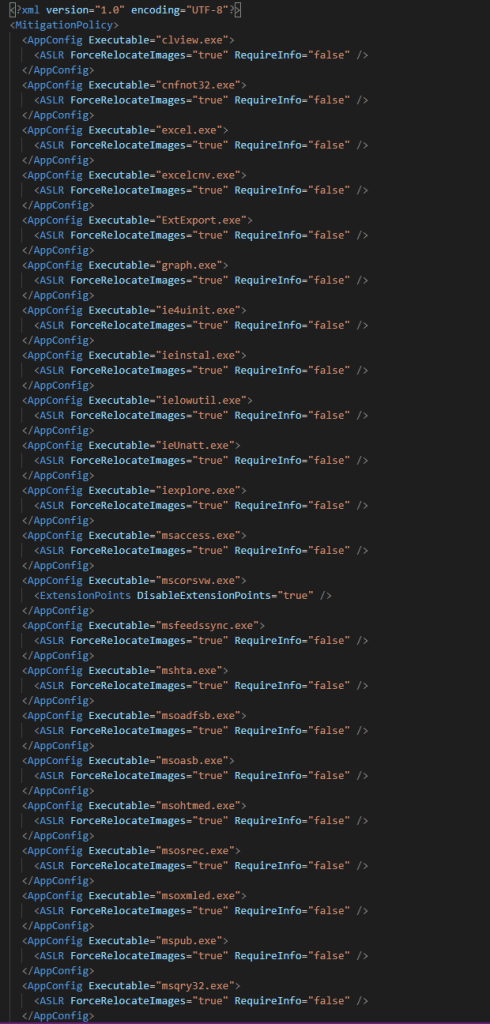
When we have customized our settings to our needs, we can then export the settings to an XML file for deployment using the Export Settings option.

To configure exploit protection through Intune, we can once again edit our Endpoint Protection Profile, this time expanding the “Microsoft Defender Exploit Guard” section of the profile. While we are here, we can also configure other aspects of Application Guard settings – Attack Surface Reduction, Controlled Folder Access and Network Filtering (More information on Exploit Guard settings here).

When you’ve had a look at the other settings available, expand out the Exploit Protection section and here we can upload our XML settings file and choose to block the user from editing the exploit protection settings.
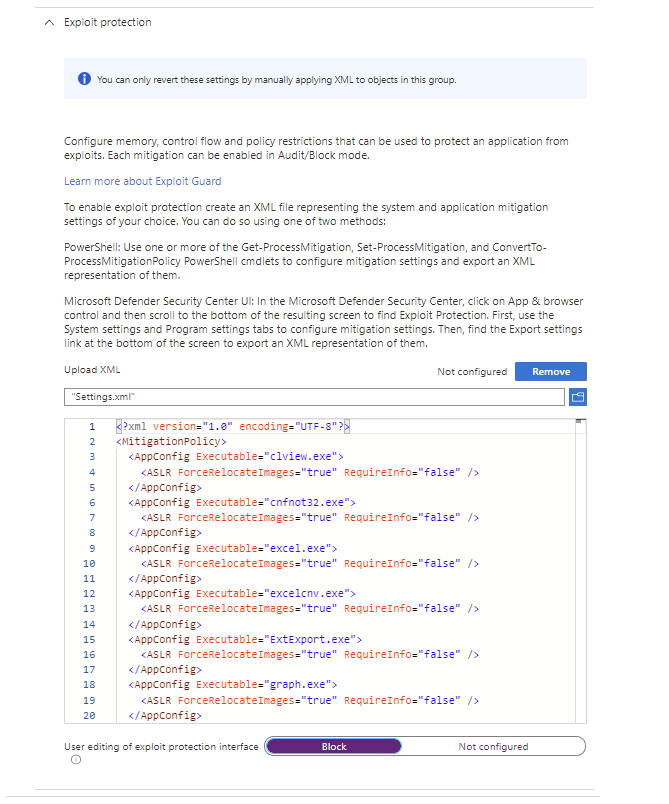
Once imported, hit save on the profile to deploy the settings.
Configure Secure Boot
Secure Boot helps to protect devices by verifying things like the firmware, drivers and OS against an onboard signature database. This ensures that the boot process of the device is secured and all aspects are verified before booting.
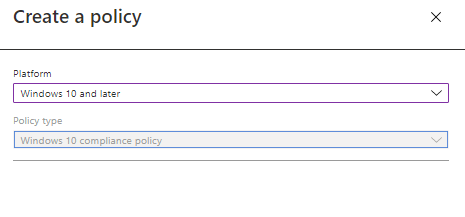
Secure Boot is configured via the BIOS and as such we can’t control it using Intune, what we can do however is ensure it is enabled before granting access to our services. We do this by creating a Compliance policy for our device. Compliance policies can be created from the Devices -> Windows -> “Compliance policies” page on the Endpoint Manager portal. From here, clikc “Create Policy” and choose “Windows 10 and later” as the platform, then hit create.
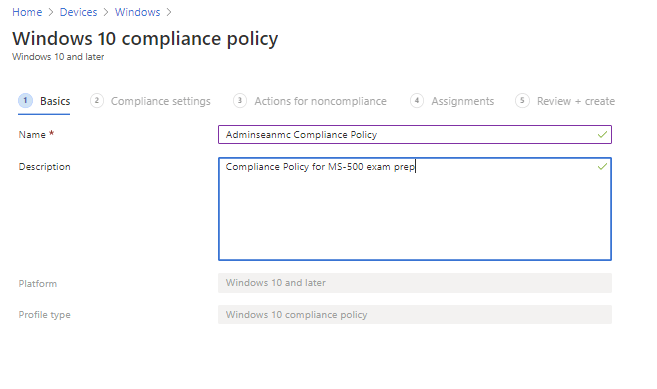
Fill in the basics and hit next.
On the “Compliance Settings” page, there are a lot of options for compliance available for us to configure. For now, set the value for “Require Secure Boot to be enabled on the device” to “Require” and hit next.

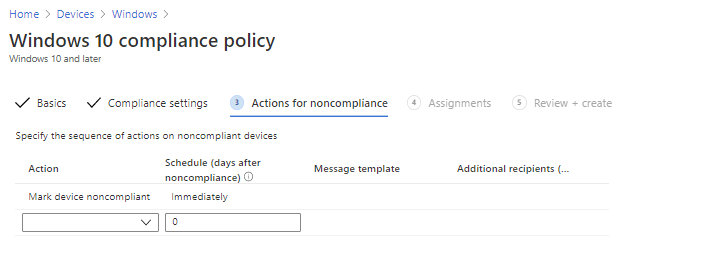
We can configure actions for noncompliance next, unless you have a specific use case to modify these settings, we can just leave it to mark the device as non-compliant immediately.
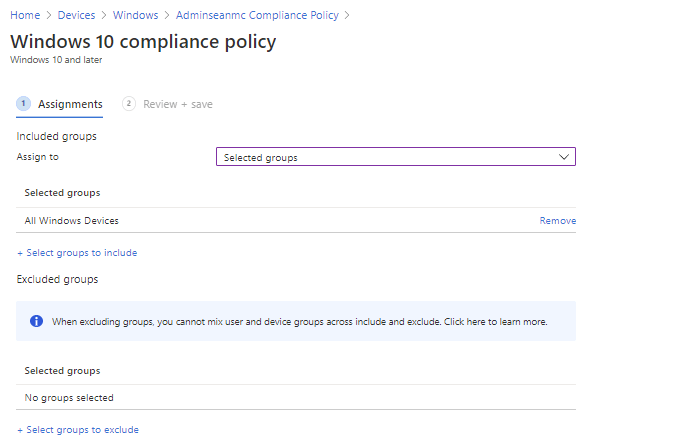
Assign the policy to a group and hit next to review and create the policy.
When the policy is created, we can link a Conditional Access policy to the device compliance requirement to block logins from non-compliant devices. We detailed this in a previous post.
Configure and Manage Windows Device Encryption
Device Encryption for Windows devices leverages Bitlocker to enforce and manage device encryption. Deploying Bitlocker through Intune is an efficient way of ensuring all devices are encrypted and protected. To deploy disk encryption, navigate to “Endpoint Security” -> Disk Encryption” and creaye a new Disk Encryption policy.

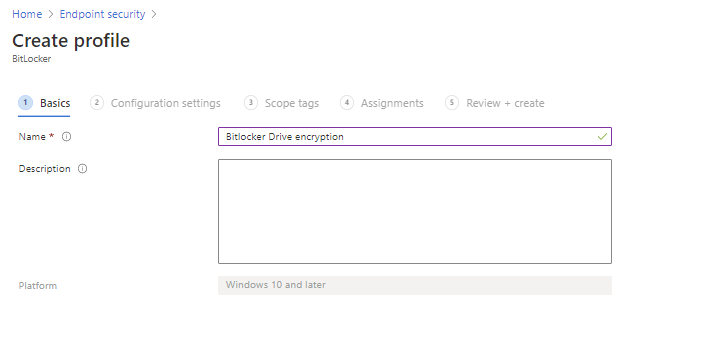
Again, fill in the basics and hit next.
From here we can configure Bitlocker settings for Fixed Drives, OS Drives and removable devices such as USB storage. We can also configure the base settings which apply to the overall device. All settings available are detailed here but we will configure the below settings for our test:
- Bitlocker system drive policy – Configures settings for OS drive encryption
- Startup authentication required – Requires authentication to start the device
- Compatible TPM start-up – Bitlocker will require a compatible TPM to encrypt and this will be used to verify at start-up
- System Drive Recovery – Configure recovery for system drives when access is lost
- Require device to back up recovery information to Azure AD – Bitlocker will not complete enablement until recovery keys have been copied to Azure AD

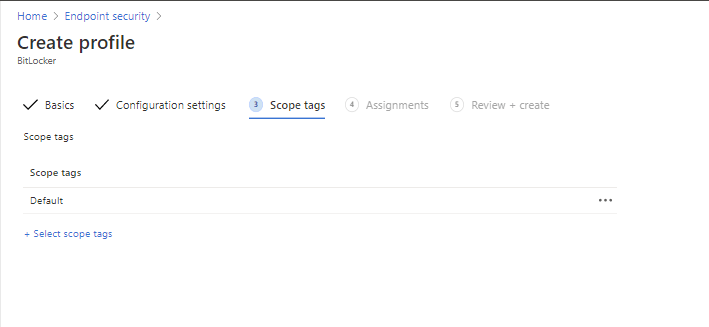
We can configure scope tags for management on the next page if we wish. We aren’t using scopes in this lab so just hit next here.
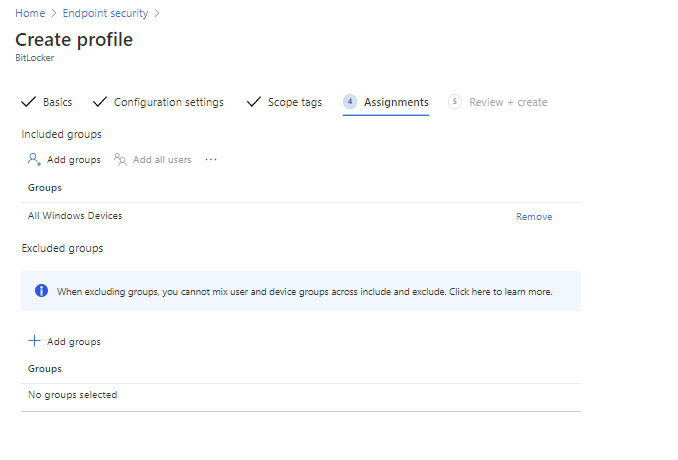
Next assign to the appropriate group(s).
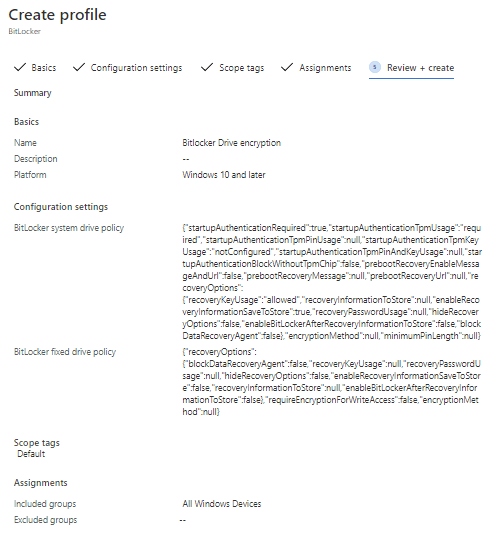
Finally review the settings and create the profile.
Now we have configured and deployed our Bitlocker policy. In the next post we will finish the configuration of our devices and do some testing. For more information on the topics in this post check out the below links:
Import, export, and deploy exploit protection configurations – Windows security | Microsoft Docs
Encrypt Windows 10 devices with BitLocker in Intune – Microsoft Intune | Microsoft Docs

Pingback: Study Guide Series – Exam MS-500: Microsoft 365 Security Administration – Sean McAvinue
Pingback: Study Guide Series: Exam MS-500 – Implement and Manage Device and Application Protection (Part 3) – Sean McAvinue