
This post is part of the overall MS-500 Exam Study Guide. Links to each topic as they are posted can be found here.
This post will cover the following exam topics listed under the “Manage Data Governance and Retention” section:
- Plan for data governance and retention
- Review and interpret data governance reports and dashboards
- Configure retention policies
- Define data governance event types
Plan for Data Governance and Retention
With the fantastic collaboration features available to users in Microsoft 365, more and more data is moved to the cloud environment as time goes on. It is important that this data is subject to the right level of protection. To facilitate this, there are a variety of tools within Microsoft 365 that we can use to ensure we have applied appropriate governance, control and security to our data.
In this post we will look at the following tools and how they can help us to plan and implement a data governance and retention strategy for our cloud service:
- Data Governance reports and dashboards give us insight into the type of information in our environment
- Retention Policies allow us to retain or delete date based on the relevance to the organization
- Data Governance Event Types allow us to create particular “Events” such as projects which can be used to retain data based on relationship to the event and timeframes
- Communication Compliance Policies allow us to ensure that the methods of communication in Microsoft 365 are being used in line with the organizations policies and practices
- Information Holds can be used to ensure that data can be transparently preserved and exported for specific users or groups from a point in time to respond to an event such as litigation
- Recovering Data in Microsoft 365 can be achieved natively for short term but for long term we can use discovery search to recover deleted data when we have an appropriate retention policy, label or hold in place
- Data Archiving can be used to remove older or less relevant data from a primary location such as a users primary mailbox
- Inactive mailboxes can be used to retain legacy data for users who have left the organization, allowing us to retain their mailbox data
Review and Interpret Data Governance Reports and Dashboards
To access Data Governance dashboards and reports, open up the “Reports” section from the Microsoft 365 Compliance Center.

From here we can see high level dashboards representing the label usage, DLP activity etc. within the organization. From here, we can click on a particular dashboard to see the underlying report. We’ve looked at each of these components individually already in this series so I won’t go into much more detail here.
Configure Retention Policies
Retention Policies in Microsoft 365 allow us to retain and delete contents across the environment based on the criteria we specify. To get started with Retention, open the “Information Governance” section of the Microsoft 365 Compliance Portal. Here we have two options for retention, we can create Retention Labels which we make available to users to assign to individual items, and we can create Retention Policies which apply to the Data we specify, without user interaction. As Retention Labels apply to content at an item level, the retention settings follow that item even if it is moved. We can choose to use Retention Policies to retain / delete at a mailbox, site, Team level. Retention Policies and Labels can be combined where labels will apply settings to individual items within an existing Retention Policy. The high-level precedence of how Retention Policies are processed is detailed here.

Configure a Retention Policy
To configure a Retention Policy, select the “Retention” section of the Information Governance page and click the option for “New Retention Policy”.

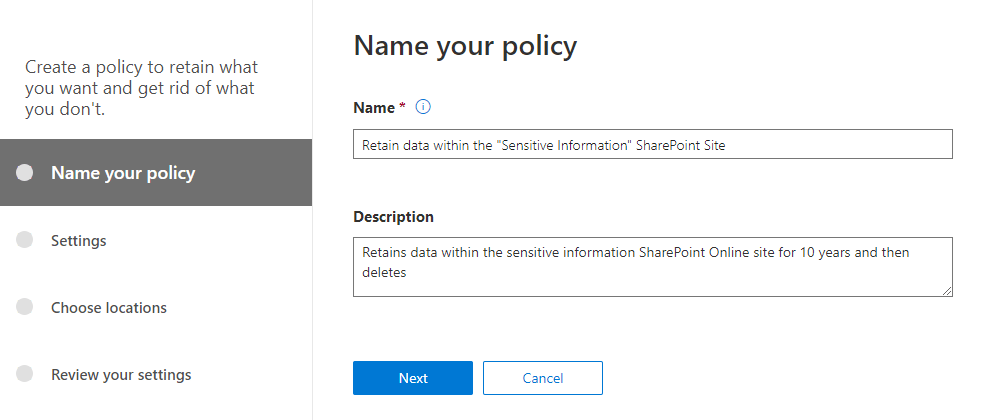
Give the policy a name and description and click “Next”.
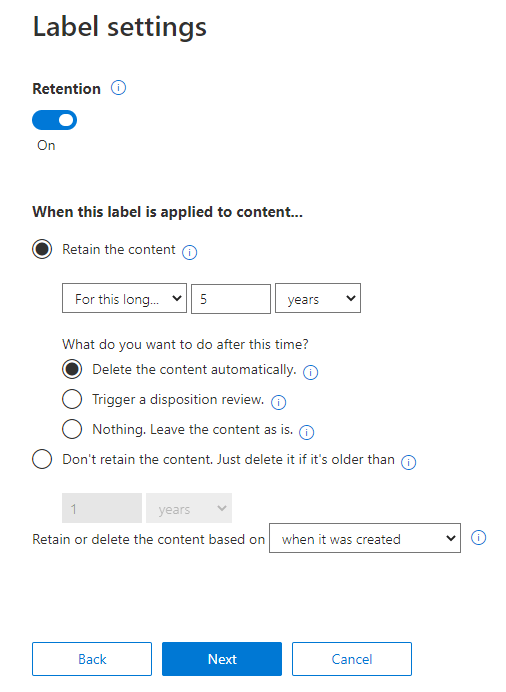
On the “Settings” page, configure the preference for:
- Do you want to retain content – Either retain content for a specific period or just delete after a specific period.
- Retain for – How long should data be retained
- Retain the content based on – Should content be retained from creation or last modification
- Do you want us to delete after this time – Should the content be automatically deleted after the retention period

The advanced retention settings can be used to retain data based on keywords or sensitive information type similar to how we configured DLP in our previous post. On the next page, we select the location we want to apply our policy to. In this case, the policy will apply to the sensitive information SharePoint Online site but we could also include a variety of other locations.

Finally, we review our settings and click “Create this policy” to finish setting up our Retention Policy.


Configure Retention Labels
To configure and deploy Retention labels, open the “Labels” section of the Information Governance page. From here we can create our Retention Labels in the same manner as Sensitivity Labels which we looked at previously. Click “Create a label” to get started.

Give the label a name and description and click next.

Similar to Retention Policies above, configure the label settings and click next. We have some options about disposition reviews and events which you can ignore for now as we will go through them later.
Finally, review the label settings and click “Create this label” when you are ready.

With our labels created, we publish them to users just like we did with Sensitivity Labels. To create a Label Policy, select the “Label Policies” option from the Information Governance page and click “Publish Labels” to create a new Label Policy.

Choose the labels you want to deploy with the policy and click next.

Next, choose which locations / users the labels will be available to or select the option for “All locations”.

Give the policy a name and description.

Finally, review the settings and click “Publish Labels” to create the Label Policy.

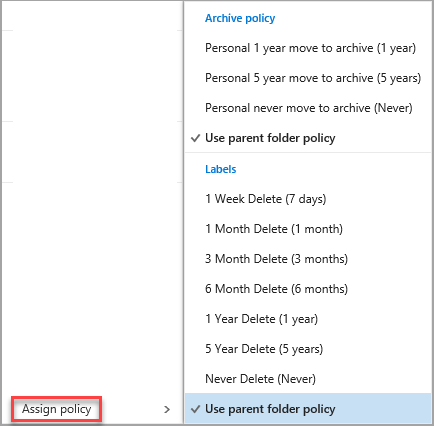
The Retention Labels will now be available to users similar to the below screenshot.
Retention Labels can also take advantage of Auto-Labelling Policies which we detailed in a previous post on Sensitivity Labels.
Define Data Governance Event Types
Data Governance Events can help us define retention based on actual events such as project initiation or employee termination. We create event types to identify significant events which can occur within the organization, in this example, a project starting. We then create an Event to signify an occurance of the event type, and enforce retention based on that event.
We can configure Events from the “Records Management” -> “Events” section of the Microsoft 365 Compliance Portal.

First we will create an Event Type, we do this by clicking on the “Manage Event Types” option and clicking the “+” to add a new Event Type.

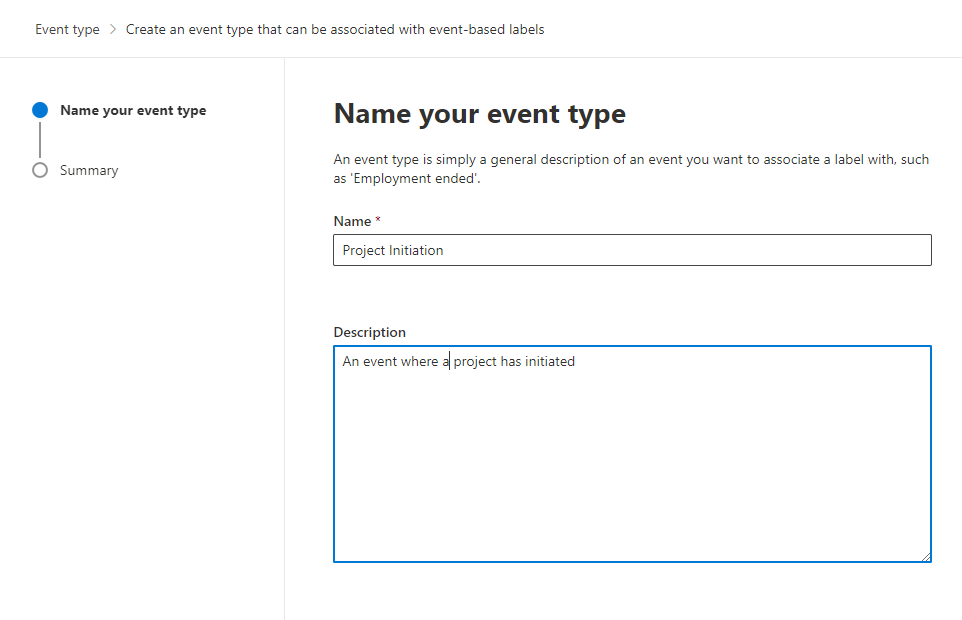
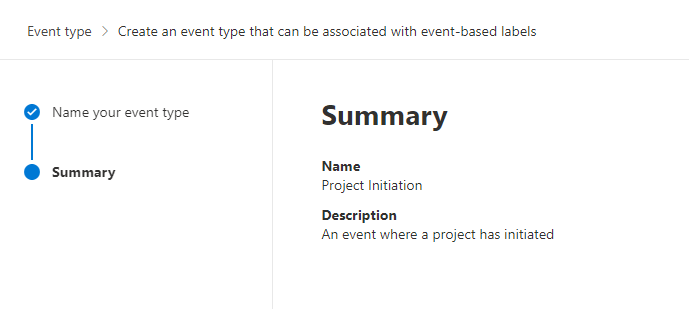
Give the event a name and description and click “Next”.
Click “Submit” to create the event Type.
With the Event Type created, go back over to the “Labels” section of the “Information Governance” page and create a new label as before.

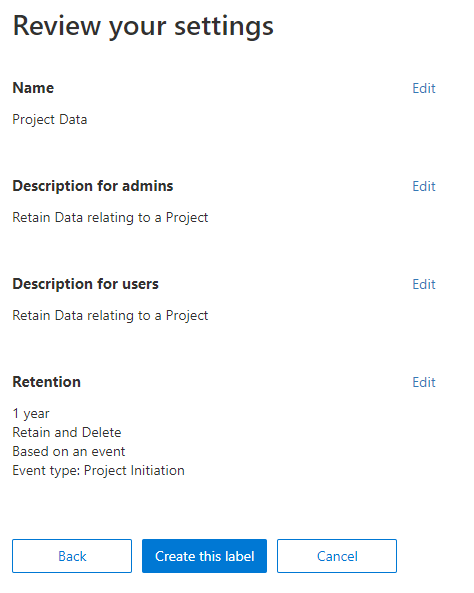
On the settings page, enter the settings for retention and deletion and on the “Retain or delete this content based on” select the option for “An Event”.
Select the new Event Type we created as the event and click next.

Review the settings and create the label as before.
With the label created, we can deploy it as normal using our Label Policy to ensure it is available to our users.
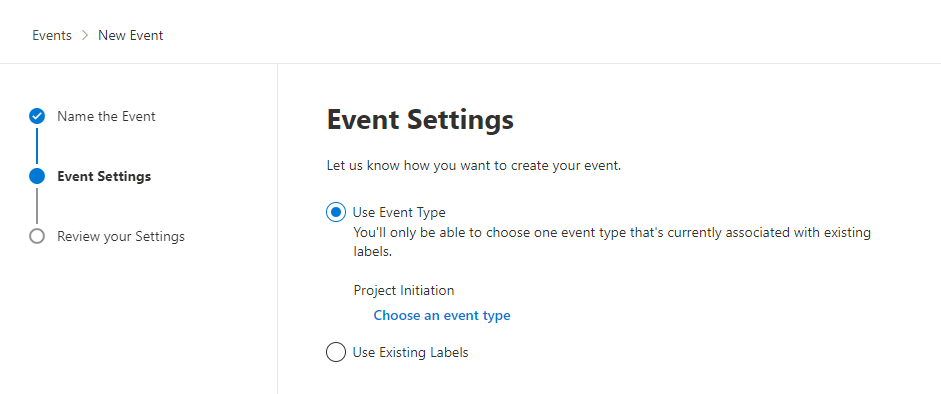
With the label deployed, we now create an Event. Go back to the “Records Management” page and open the “Events” section again. On this page, click “Create” to create a new event. Give the Event a name and description then hit “next”.

Here we can either choose an Event Type or link directly to our existing label. Select “Event Type” and then select the new Event Type we configured.
On the next page we start to see how Events take shape. Any content with the label we just created applied to it will get no settings by default. The settings are driven by what we apply on this page. We enter in keywords for Exchange Data and Asset IDs for SharePoint / OneDrive data. While Keywords might be familiar, Asset ID might be a new concept to users. Asset ID is a property on SharePoint / OneDrive documents. It will become available for the user to assign when the have applied the label we published as seen in the below screenshot.

When the Asset ID assigned to the document matches the Asset ID we have specified in this page, the Retention Label is linked to the Event! We specify the date of the Event which then feeds into our Retention Label settings and applied appropriate retention based on that date.

Summary
In this post we looked at Dashboards, reports, Retention Policies and Labels along with Events. In the next we will round out the Data Governance and Retention section. For now, there is more information available on the topics covered here at the below links:
Get started with retention policies and retention labels – Microsoft 365 Compliance | Microsoft Docs
Disposition of content – Microsoft 365 Compliance | Microsoft Docs
Records Management in Microsoft 365 – Microsoft 365 Compliance | Microsoft Docs

Pingback: Study Guide Series – Exam MS-500: Microsoft 365 Security Administration – Sean McAvinue
Pingback: Securing External Access to Files in Teams: The Two Most Important Basic Configurations – Sean McAvinue