
This post is part of the overall MS-500 Exam Study Guide. Links to each topic as they are posted can be found here.
This post will cover the following exam topics listed under the “Manage Data Governance and Retention” section:
- Find and recover deleted Office 365 data
- Configure data archiving
- Manage inactive mailboxes
Find and Recover Deleted Office 365 Data
When data is deleted in Office 365, there are various ways we can restore depending on several factors. For example, when a mailbox item is deleted it first moved to the users deleted items, when it is removed from there, it will move to the recoverable items folder for a default period of 14 days (maximum 30 days). As there is no “Back up” in Office 365 (and with the tools available, not a lot of use cases for one), by default after this time, they are gone. This can lead so important data being lost after a user accidentally deletes it without realising.
We can protect ourselves from this scenario by using Retention Policies or in-place holds which we looked at previously. When an item is under retention or hold, it is not deleted at the end of the above process and is still recoverable using an eDiscovery or simple Content Search. Let’s look at a Content Search for some deleted mails. Before we start, ensure the following roles are assigned to the account you are using to make sure you can run and export the search results:
- Compliance Search – To run the search
- Preview – To preview results
- Export – To export results
The role “eDiscovery Manager” in the Security & Compliance Center contains all the required permissions.
To run a Content Search, Open up the “Content Search” section of the Microsoft 365 Compliance Portal. Here we define our criteria for our search, I’ve just included a single user in the search who has recently deleted several mails and purged the recoverable items folder however we can search all locations listed and also filter our search by any criteria we know about the item. With the criteria set, click “Save & Run”

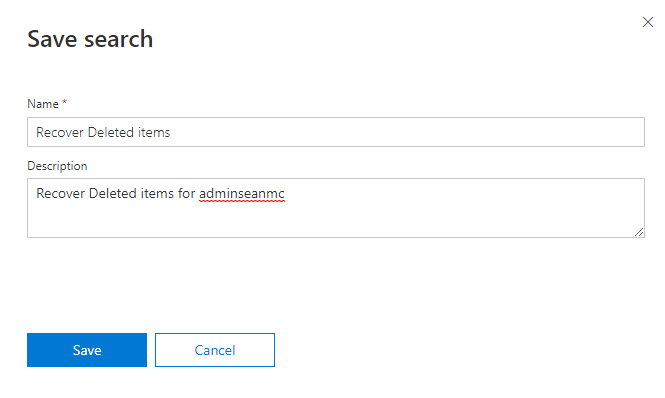
Give the search a name and description, hit save and the search will start.
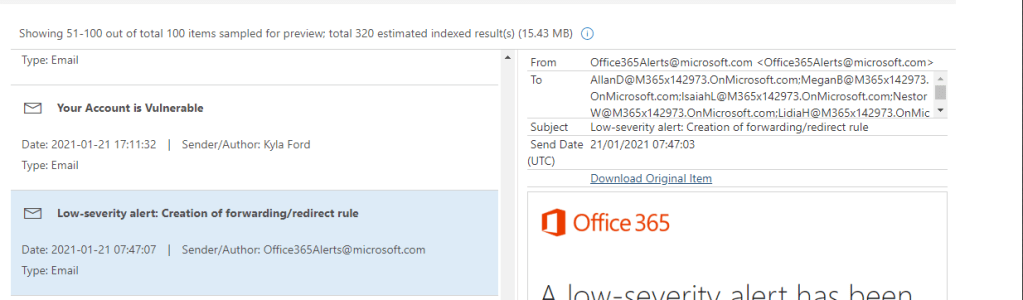
When the search completes, you will be presented with the results in preview, from the “More” dropdown we can export a report of the search results or the entire contents of the search.

As we are only recovering a single deleted item find the item in the preview and select the “Download Original Item” option to download it.
And that’s it, we recovered the deleted item which was held under our retention policy. In this example we looked at email but we can recover a huge amount of content using the same method.
Configure Data Archiving
In Exchange Online, with an Enterprise license all users have a 100GB mailbox quota allowing for a large amount of data to build up in a particular mailbox, although users to hit that limit, often long serving – high ranking members of staff. When we begin to reach that limit, enabling archiving allows us to move older or less relevant data our to a separate unlimited archive mailbox. Along with this scenario, we also have considerations around Outlook profile sizes, long search times etc.
To enable an Online Archive for a mailbox, simply find the mailbox in the Exchange Online Admin Center and select the option to enable In-place Archive.

With an archive enabled, a user can start moving content to the archive which is mapped in Outlook. We can also configure Retention Tags to automatically archive mail data. Retention Tags contain rules and are assigned in Outlook to retain, delete or archive mailbox data, Retention Policies are used to make Tags available to users. This can be done by opening the “Compliance Management” -> “Retention Tags” section of the Exchange Online Admin Center and clicking the “+” to create a new tag.
Note: For retention and deletion of content it is recommended to use Retention Labels which we have looked at previously. For Archiving, we need to use Retention Tags and Policies.
There are three types of tags we can create:
- Personal – These tags are not automatically assigned, they are made available to users to assign in Outlook
- Default – These tags automatically apply to the entire mailbox
- Folder specific – These tags apply to specified known folders (Note: These tags don’t support archiving)
For now, let’s select “Applied automatically to a entire mailbox” (Default Tag)

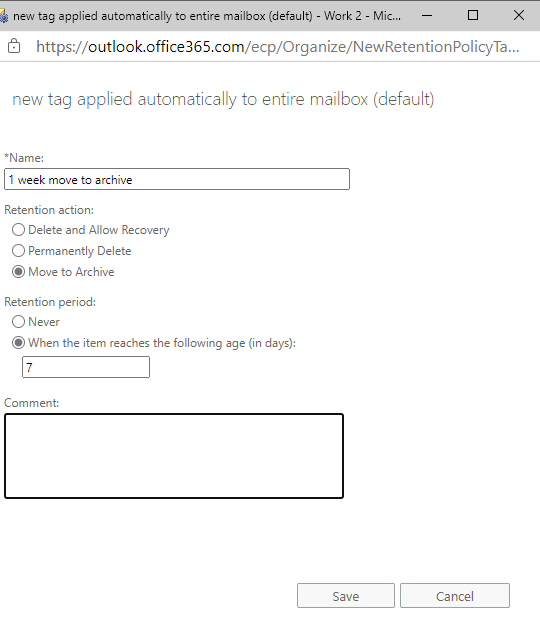
In the pop-out window, give the tag a name, select “Move to Archive” as the action and specify a Retention Period as in the below screenshot.
Now that our tag is set up, we deploy it to users using a policy. Open the “Retention Policies” section and create a new policy. Here we give the policy a name and then add in any tags we want to make available:

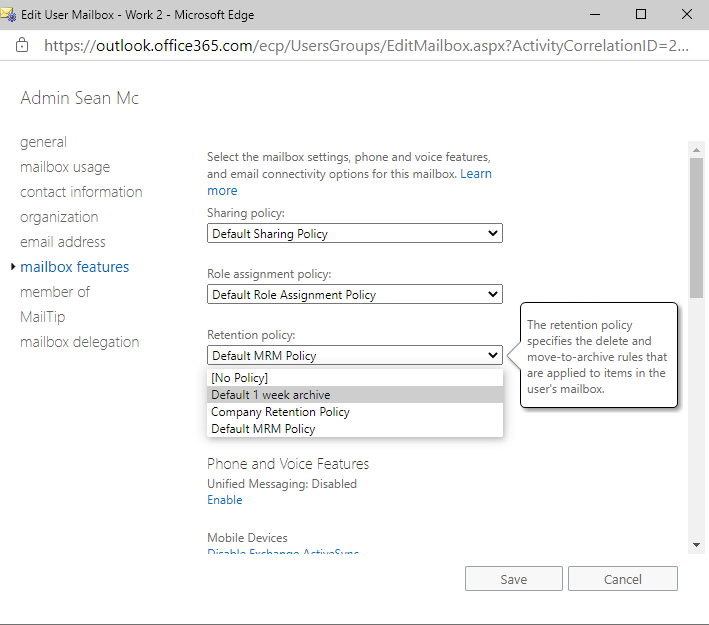
When the policy is saved, we can change the policy assigned to a user in the users mailbox features under “Retention Policy”
And that’s it, after about 24 hours the policy will kick in and the users data will start flowing to their archive mailbox.
Manage Inactive Mailboxes
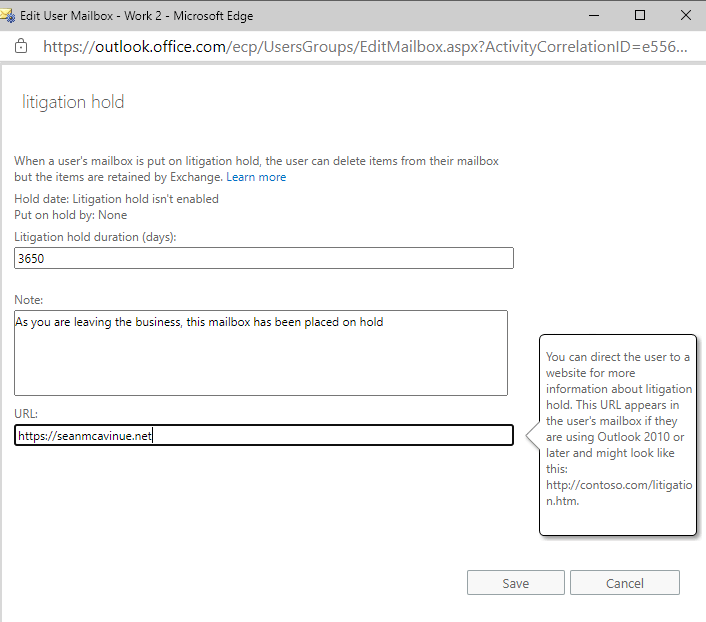
Inactive Mailboxes in Microsoft 365 allow us to retain data after a user has left the organization while freeing up the license assigned. This is generally used as part of a leavers process or to retain data for a period of extended leave. To make a mailbox inactive, it must be either placed on Litigation Hold or have an appropriate retention policy applied. We have already looked at Retention Policies so for this example we will put a mailbox on Litigation Hold. To do this, we can either select the mailbox in the Exchange Online Admin Center and under “Mailbox Features” enable Litigation Hold.

We then specify the length of the hold and any notes or links for the user. Leaving the length blank will put the mailbox on hold indefinitely.
Once the mailbox has been place on hold or a retention policy has been applied, we can go ahead and safely deleted the user account from the admin portal. We can then see the mailbox listed in the “Information Governance” -> “Retention” -> “Inactive Mailboxes” section of the Compliance Portal. The data in this mailbox is available for eDiscovery and/or Content Search as well

Summary
In this post we have finished our look at the Data Governance and Retention section of the exam. Next we will look at how we can use eDiscovery and Content Search to find and export content in our environment. For now, more information on the topics covered here in the below links:
Recover deleted messages in a user’s mailbox in Exchange Online | Microsoft Docs
Overview of inactive mailboxes – Microsoft 365 Compliance | Microsoft Docs
Create and manage inactive mailboxes – Microsoft 365 Compliance | Microsoft Docs

Pingback: Study Guide Series – Exam MS-500: Microsoft 365 Security Administration – Sean McAvinue