
This post is part of the overall MS-500 Exam Study Guide. Links to each topic as they are posted can be found here.
This post will cover the following exam topics listed under the “Manage Search and Investigation” section:
- Plan for content search and eDiscovery
- Delegate permissions to use search and discovery tools
- Use search and investigation tools to perform content searches (Core eDiscovery)
Plan for Content Search and eDiscovery
Content Search and eDiscovery allow us to leverage and delegate the powerful search and export functionality in Microsoft 365. Using the built in search tools we can surface data relating to specific users and topics across:
- Exchange Email
- Office 365 Group Email
- Skype for Business
- Teams Messages
- To-Do
- Sway
- Forms
- Yammer Conversations
- SharePoint Sites
- OneDrive Accounts
- Office 365 Group Sites
- Teams Sites
- Yammer Networks
- Exchange Public Folders
When we create a Content Search or eDiscovery, we can tailor the results by filtering based on a variety of criteria and then perform an action based on the search results. We can put the results on in-place hold, preview the results, export a summary report or export the entire or subset of the results.
When using eDiscovery there are actually two options based on your license. For M365 E3 licensed organizations “Core eDiscovery” is available and for M365 E5 organizations both “Core” and “Advanced eDiscovery” is available.
With Core eDiscovery, the functionality available is:
- Create and delegate eDiscovery Cases
- Search and Preview Data
- Place results on in-place hold
- Export reports and contents
Advanced eDiscovery gives the below additional features:
- Provide notices and communications to custodians/users of holds
- Manage and analyze results
- Text extraction from results
Delegate Permissions to Use Search and Discovery Tools
Depending on the functionality required, there are various roles required, the below table from the Microsoft Documentation shows the roles and role groups and functionality provided:
| Role | Compliance Administrator | eDiscovery Manager & Administrator | Organization Management | Reviewer |
|---|---|---|---|---|
| Case Management |  | | | |
| Communication | | |||
| Compliance Search | | | | |
| Custodian | | |||
| Export | | |||
| Hold | | | | |
| Preview | | |||
| Review | | | ||
| RMS Decrypt | | |||
| Search And Purge | |
The eDiscovery Managers and eDiscovery Administrators role groups also provide a different level of functionality over eDiscovery cases. an eDiscovery Manager can perform all of the tasks identified above within a Content Search or eDiscovery case however they can only manage or view their own eDiscovery cases. An eDiscovery Administrator can view and manage all eDiscovery cases in the organization. These roles can be assigned in the “Permissions” section of the Microsoft 365 Security & Compliance Center.
Use Search and Investigation Tools to Perform Content Searches
We have used Content Search in the previous post so for this example we will use eDiscovery. We will also run though both Core and Advanced eDiscovery scenarios.
Core eDiscovery
To create an eDiscovery case, navigate to the Microsoft 365 Compliance Center and open the eDiscovery section. For now select the “Core” page and click the “Create a case” button.

Give the case a name and description and click “Save”.

When the case is created, select it and in the pop-out window we can manage members of the case, here we can add individual users or use role groups to give access. Once members have been added, select the “Open case” option to open and configure the case.
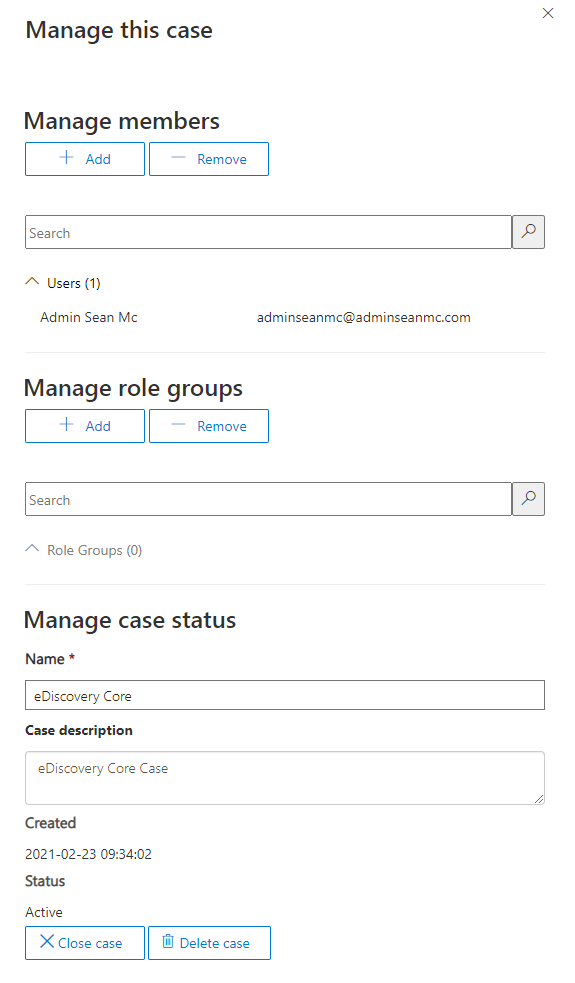
With the case open, we see the below sections available:
- Home – This is the summary page of the case, we can also close the case from here
- Holds – This is where we will specify any in-place holds we create
- Searches – This is where we configure our search
- Exports – This is where we process data exports for our results
To get started, open the “Searches” tab, here we have a few options to create a search:
- New Search – This option creates a new search from scratch
- Guided Search – This allows us to run a search using the wizard
- Search by ID List – This option allows us to search by a predefined list of mail item IDs

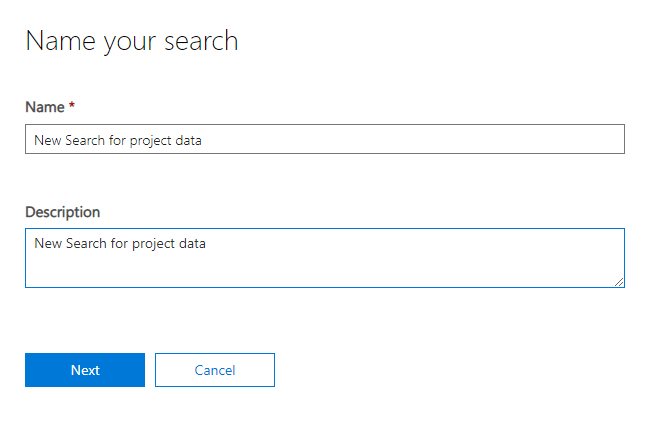
Select the “Guided Search” option to create our first search. When the search wizard opens, give the search a name and descripton and click “Next”.
On the next page, select the locations to search, we can shoose specific users, groups, teams or sites or choose the “select all” option. Configure the search locations and click “Next”.

Finally, enter in the search criteria, this can be keywords or other conditions such as mail recipient, file type etc.
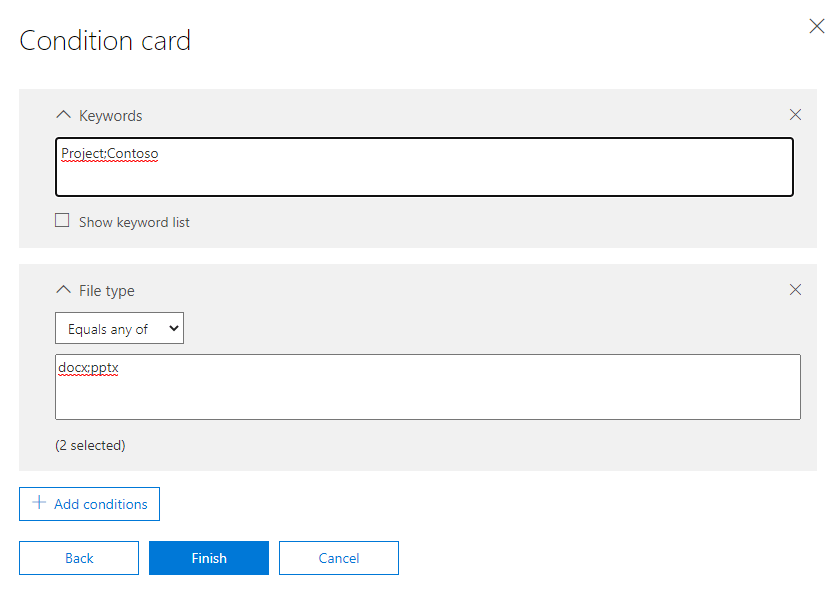
Since we used guided search, our search criteria is prepopulated for us based on the wizard. The search will immediately begin. When the search finished, as long as we have the “Preview” role we will be able to navigate and preview the results.
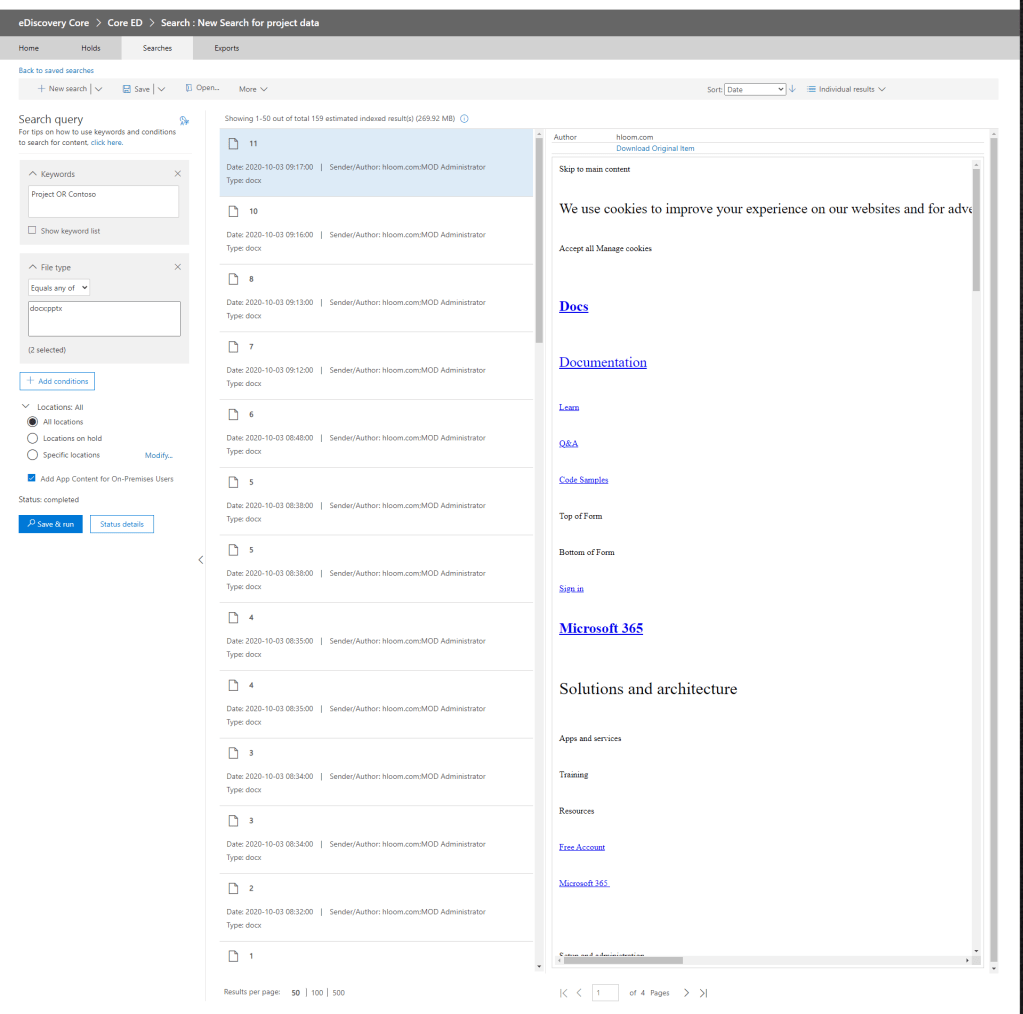
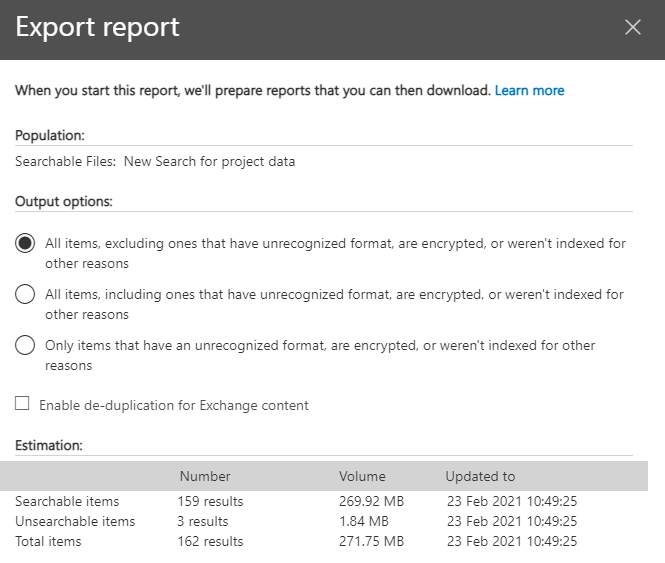
We can use the “Download Original Item” option to download single items or we can click on the “More” option to see bulk export options. Here we can choose to export a report of the results or to export the entire result set. Clicking an export option will give us the below options for exporting:
Export Report
- Output Options
- All items, excluding unrecognized – Will export a report containing every item excluding items that could not be recognized
- All items, including unrecognized – Will export a report containing every item including items that could not be recognized
- Only unrecognized items – Will export a report featuring only unrecognized items
- Enable deduplication for Exchange content – If this is enabled only one copy of each mail will be in the report
Export Results
Output Options
- Output Options
- All items, excluding unrecognized – Will export all contents excluding items that could not be recognized
- All items, including unrecognized – Will export all contents including items that could not be recognized
- Only unrecognized items – Will export only unrecognized items
- Export Exchange Content As
- One PST file for each mailbox – Will export multiple PST files containing the results of each mailbox
- One PST file containing all messages – Will export all messages to a single PST separating mailboxes by folder
- One PST containing all messages in a single folder – Will export all messages to a single PST with no folder structure for mailboxes
- Enable deduplication for Exchange content – If this is enabled only one copy of each mail will be exported
- Include versions for SharePoint files – If this is enabled, versions of SharePoint files will be exported
- Export files in a compressed folder – Exports contents as a .ZIP file with individual messages and documents
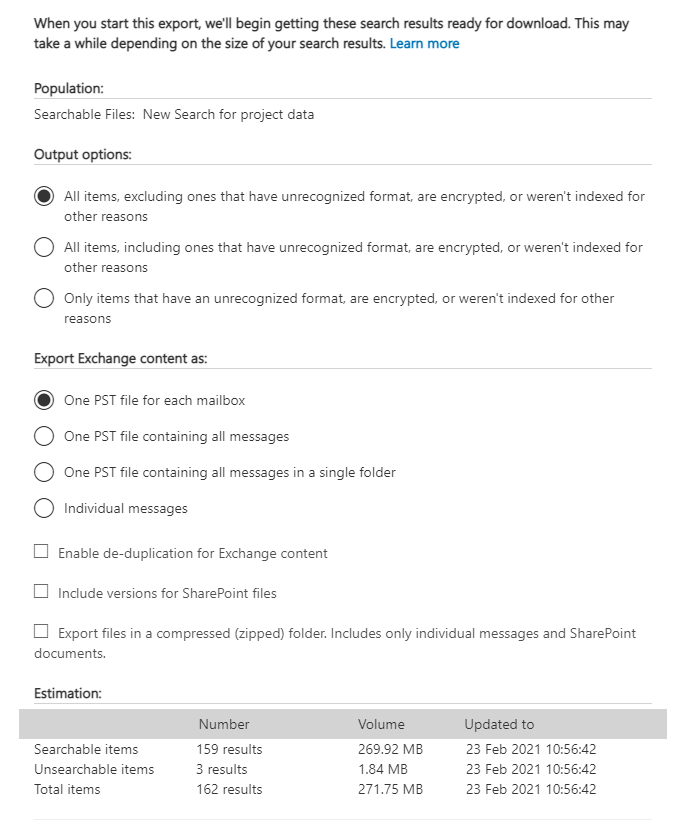
To export the contents, configure the settings above and click “Export”, this will create a new entry on the “Export” tab which will begin preparation immediately. To view the progress, switch over to the “Export” tab and select the Export that has been created to open the Export pop-out.

When the export is ready for download, we see the below status:
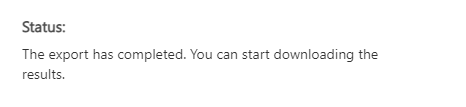
To complete the download, copy the export key from the page to your clipboard and click the “Download Results” button. This will download and run the eDiscovery Export Tool (make sure to use Microsoft Edge as other browsers have issues with this tool)
With the tool open, paste in the export key and pick your download location to begin the download.


When the download finishes, the content will be in the location we specified in the tool along with a report of the results and a trace log.

Finally, we can also use the hold function of an eDiscovery case to put contents on in-place hold. To do this, open up the case and navigate to the “Holds” section.

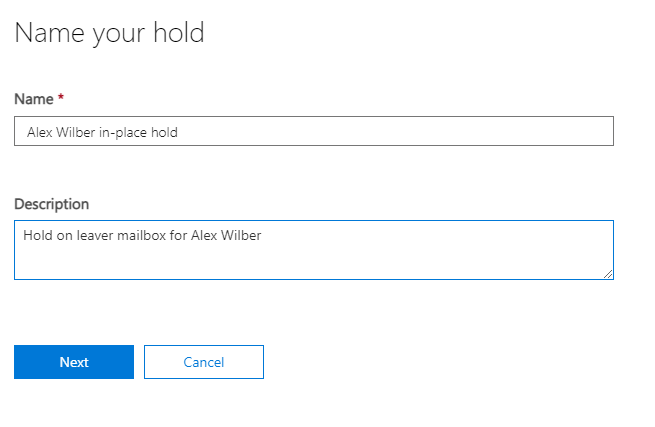
Here we can click the “Create” button to start the wizard and specify our contents. Enter a name and description for the hold and click “Next”.
Next, specify the search locations as before, as this hold if for a specific leave, I have specified the user in the top section.

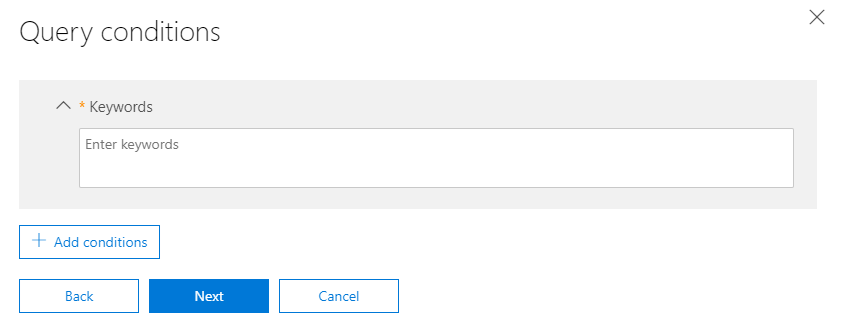
Next, enter in any conditions or keywords, again, because this is a hold on the entire user, I will leave this blank.
Finally, click “Create this hold” to finish the Wizard and put the results on hold.

When the search finished we see the result statistics on the pop-out page of the hold. We can hit update statistics to update the page and check progress.
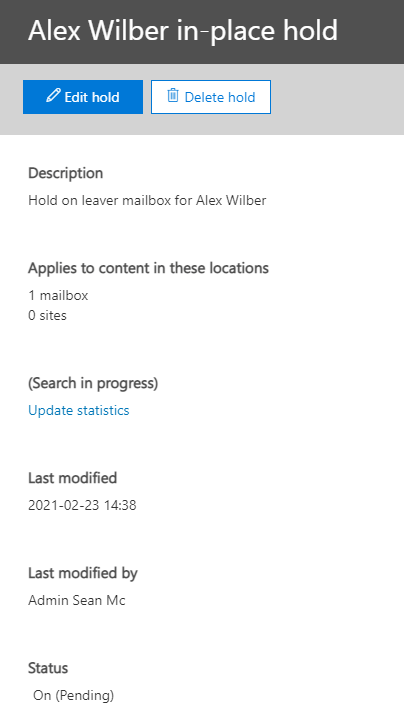
When the status has changed from “On (Pending)” to “On (Success)” then the hold is in place. As a side note, because this is a hold on the entire mailbox we can go ahead and delete the account to convert to an inactive mailbox as we did in the previous post!

Summary
In the next post we will continue by looking at Advanced eDiscovery and how we can use that to enhance the functionality we have in the core version. For now, more information on the topics covered here at the below links:
eDiscovery – Microsoft 365 Compliance | Microsoft Docs
Search for content – Microsoft 365 Compliance | Microsoft Docs
Get started with core eDiscovery cases in Microsoft 365 – Microsoft 365 Compliance | Microsoft Docs

Pingback: Study Guide Series – Exam MS-500: Microsoft 365 Security Administration – Sean McAvinue