
In part three of this blog series, I will go through the steps to deploy the MIM/PAM server to host the MIM Synchronization Service and Portal.
*As I am using a lab environment I have chosen to install MIM, SQL and SharePoint on the same server but in production they would need to be planned and scaled out correctly.
Server Configuration
First install the required Windows features by running the following PowerShell commands:
## Install Prereqs
import-module ServerManager
Install-WindowsFeature Web-WebServer, Net-Framework-Features,rsat-ad-powershell,Web-Mgmt-Tools,Windows-Identity-Foundation,Server-Media-Foundation,Xps-Viewer –includeallsubfeature
Once the features are installed successfully, we need to define the local security policy. To do this open the Local Security Policy (secpol.exe) and make the following changes:
In the policy Local Policies > User Rights Assignment > Log on as a service
Add priv\MIMonitor, priv\MIMService, priv\SharePoint, priv\MIMComponent and priv\SQLServer
In the policy Local Policies > User Rights Assignment > Deny access to this computer from the network
Add priv\mimmonitor, priv\MIMService and priv\mimcomponent
In the policy Local Policies > User Rights Assignment > Deny log on locally
Add priv\mimmonitor, priv\MIMService and priv\mimcomponent
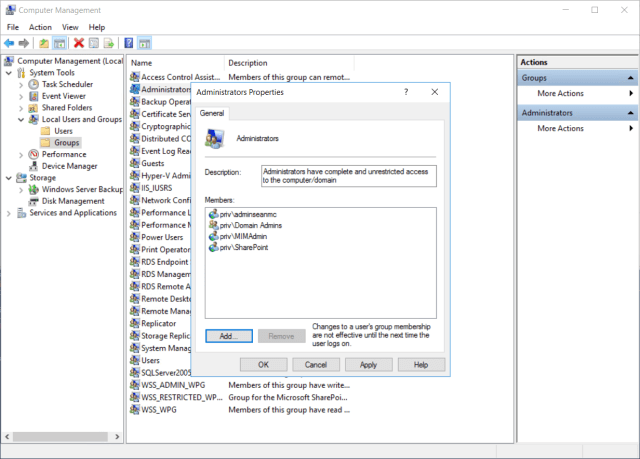
Configure local security policy and local admins
Close the local security policy window and open “Computer Management”. Navigate to “Local Users and Groups -> Groups -> Administrators” and add priv\MIMAdmin and priv\SharePoint as local admins on the server.
IIS Config
To configure IIS for Windows Authentication, run the below PowerShell commands:
iisreset /STOP
C:\Windows\System32\inetsrv\appcmd.exe unlock config /section:windowsAuthentication -commit:apphost
iisreset /START
Installing the Synchronization Service
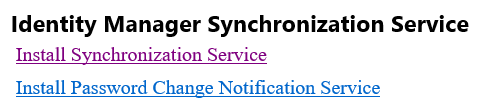
Mount the MIM 2016 ISO and run the “FIMSplash.htm” page in the root folder to open the splash page.
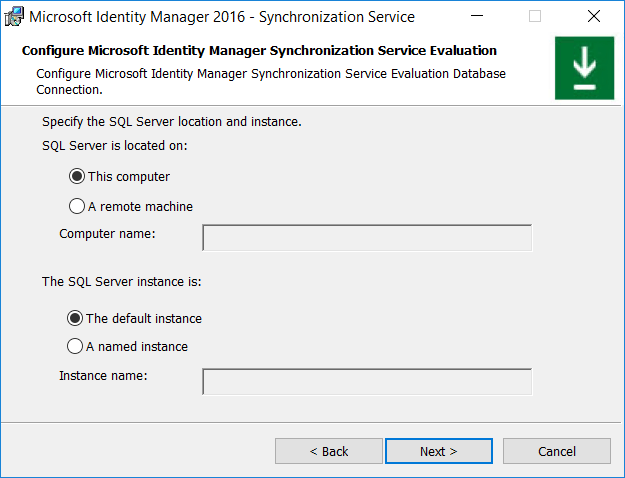
Follow through the wizard, accepting the terms and conditions and specify your SQL instance. In my lab I am using a local default SQL instance
Specify your MIMSync service account details

Update the group names to be created if you like

On the next page you can allow the installer to open the required firewall ports on the server for you

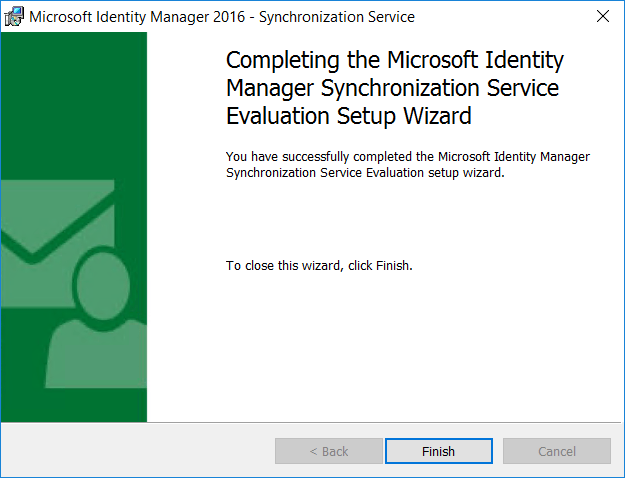
Finally click install and wait for the synchronization service to finish installing. At the end you will be prompted to save the encryption key locally. Save this key and keep it safe.
When the install completes click finish and you will be prompted to log off the server to update group membership.
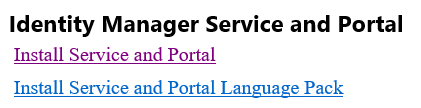
Install MIM Service and Portal
After logging back on to the server, open up “FIMSplash.htm” again and this time run the “Service and Portal” installer.
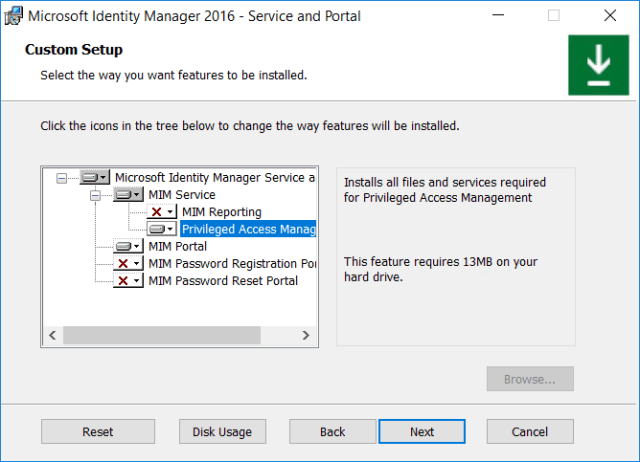
Follow through the Wizard, accepting the license terms and opting in or out of the Customer Experience Program until you get to the Custom Setup page. At this page, select the options to install the MIM Service, Privileged Access Management and MIM Portal Roles and click next.
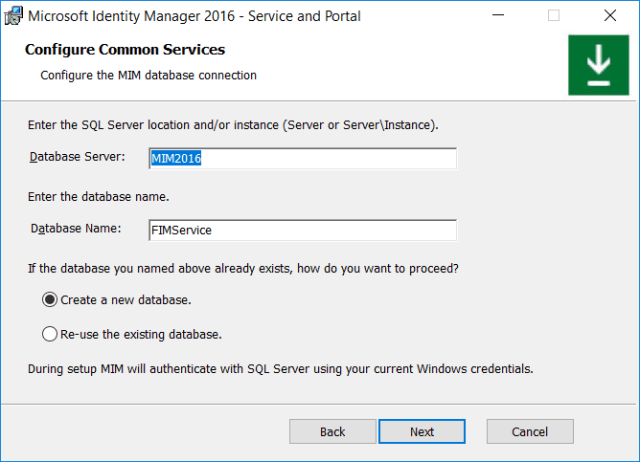
Select the SQL settings and click next. Again, in my lab I am using a local SQL instance.
Select a mail server to use, you can also optionally use Exchange Online or if there is no Exchange server in place enter “localhost” as the server name and deselect the top two options.

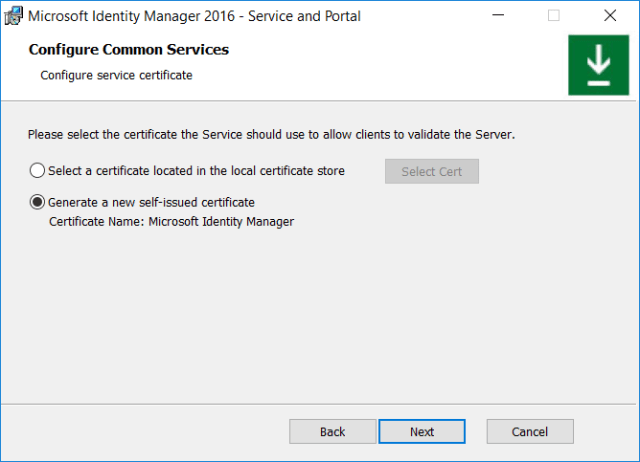
Create a new self-signed cert or use an existing certificate.
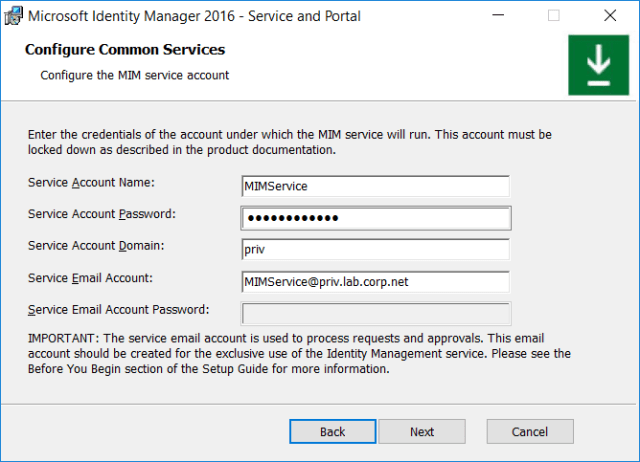
Enter the service account details for the MIMService.
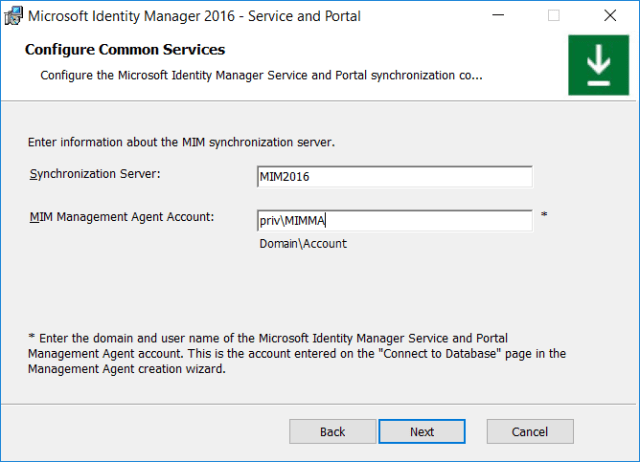
Enter the details of the synchronization service.
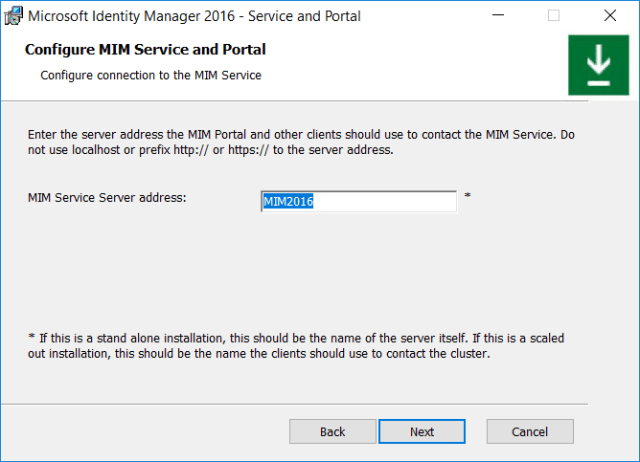
Enter the name of the local server for the MIM Service Server Address.
Enter the name of the SharePoint Site Collection we created in part 2 of this blog to host the MIM Portal.

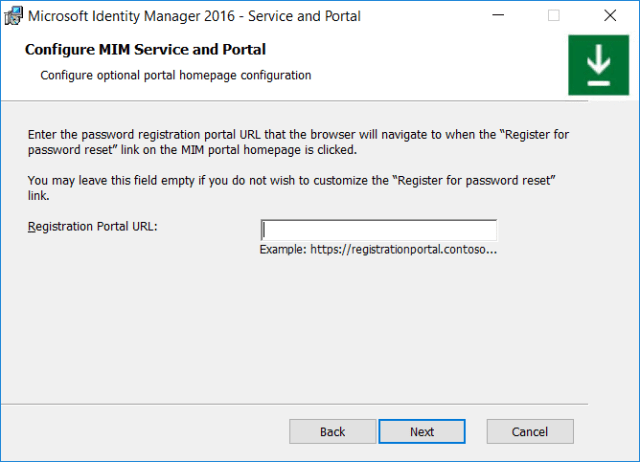
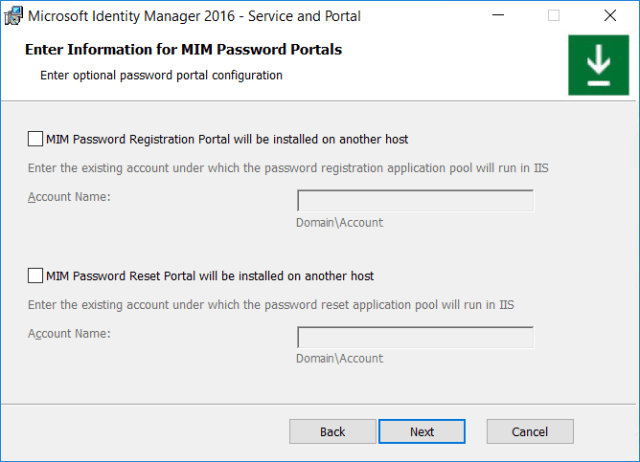
We are not using the Password Registration Portal so leave the next page blank.
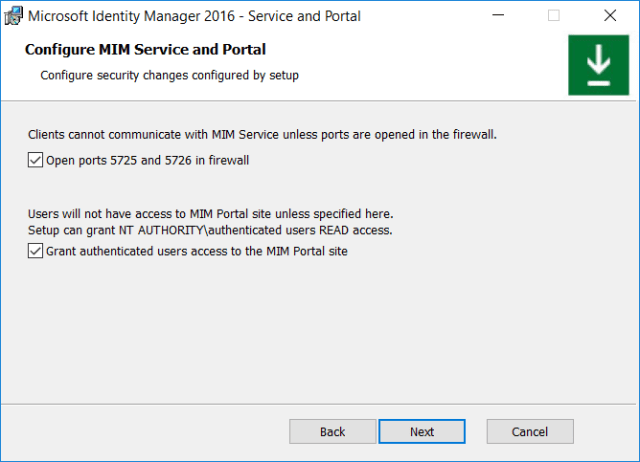
Check the boxes to open the appropriate firewall ports and to allow authenticated users to access the MIM Portal site.
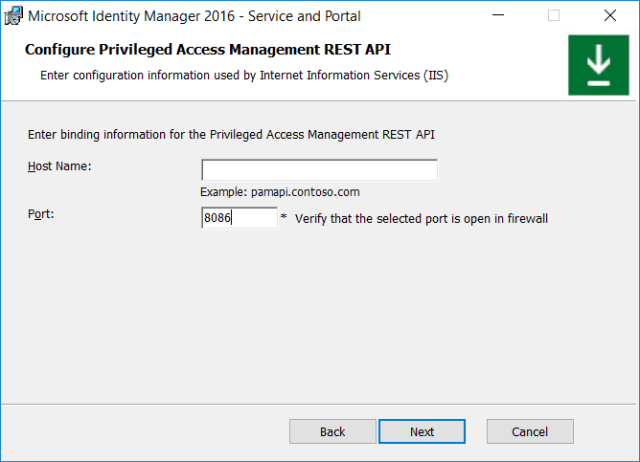
Leave the REST API Hostname blank and set the port to 8086.
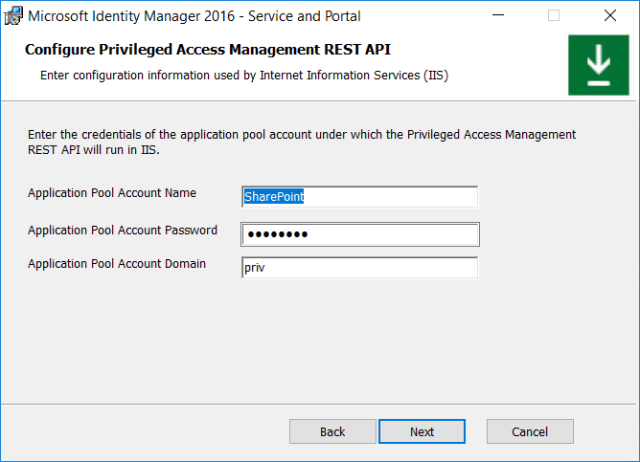
Enter the account details of the SharePoint service account for the PAM REST API.
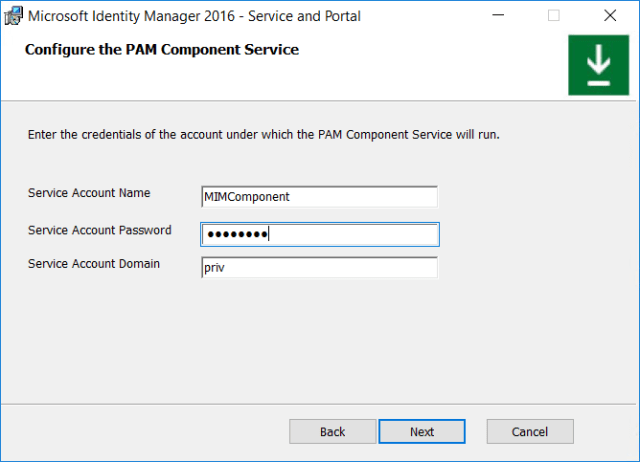
Enter the MIMComponent service account details for the PAM Component Service.
Enter the MIMMonitor service account details for the PAM Monitoring Service.

If you are using the other components on another server enter the details here, if not, click next.
Finally, click Install
When the installer finishes, reboot the system and log back on. Browse to your MIM Portal URL configured in Part 2 and you should see the MIM Portal page has been configured successfully.

Now the MAM Portal and Service are successfully installed. In the next and final post in this series, I will finalize and test the PAM configuration!

Pingback: Implementing Privileged Access Management on Server 2016/2019: Part 4 – Finalize Configuration and Test PAM Requests – Admin Sean Mc