
The Microsoft Teams feature updates are still coming thick and fast with a host of new features appearing for Teams users every month. even just looking at the roadmap page, there are 219 features in development at the time of writing and 26 currently rolling out.

With the pace of updates, it’s important to keep on top of the key feature updates and test them before they appear for all users in your tenancy. It’s also important that we understand how the features work in practice so we can communicate appropriately to our users to help them take full advantage of the improvements as they are deployed. Previously I’ve detailed the process to enable Preview Features in the Teams Admin Center but this procedure has now been given a bit of a facelift, introducing the option for the user to switch on Public Previews on their desktop and Web clients. Here I will detail the tasks an admin needs to do to make this available and the tasks the user needs to do to enabled for their Teams Desktop or Web Client.
Admin Tasks – Deploy a Teams Update Policy
To enable preview features, we need to configure the Teams Update Policy for the users we want to allow. To do this, jump over to the Teams Admin Center and open up “Teams” -> “Update Policies”. For most tenants, there will be a single “Global” policy listed here.
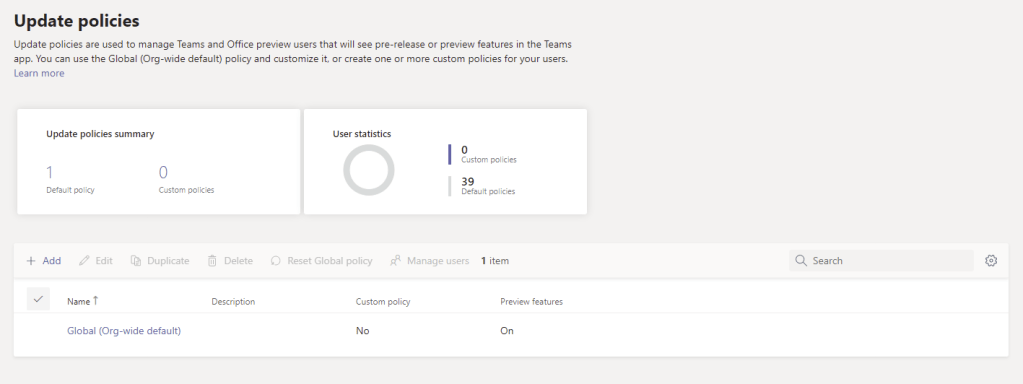
If we wanted to enable the option for Public Preview for all users in our organization we could modify the Global policy, but in most cases, since we’re not crazy and would like to avoid having our service desk bogged down with troubleshooting pre-release features we can create and target a new policy. To do this, click the “Add” button on the “Update Policies” page.

Give the policy a name and optionally a description, “Preview Enabled” is as good as any I suppose 🙂
Make sure to enable the “Show Preview Features” option or our policy won’t actually do anything.

With the policy created, we just need to add it for our users that we are enabling the Preview option for. Do this by clicking “Manage Users” and adding the user(s) we want.

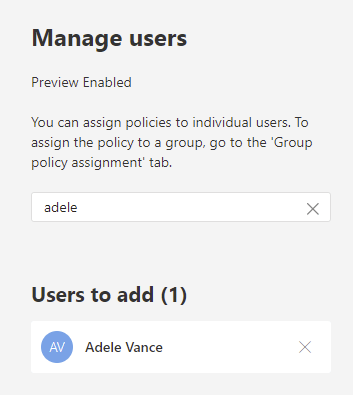
At this point we may need to wait for about 24 hours for the users Teams Client to get the new policy, then it’s on to the user to enable.
User Task – Turn on Public Preview in Teams
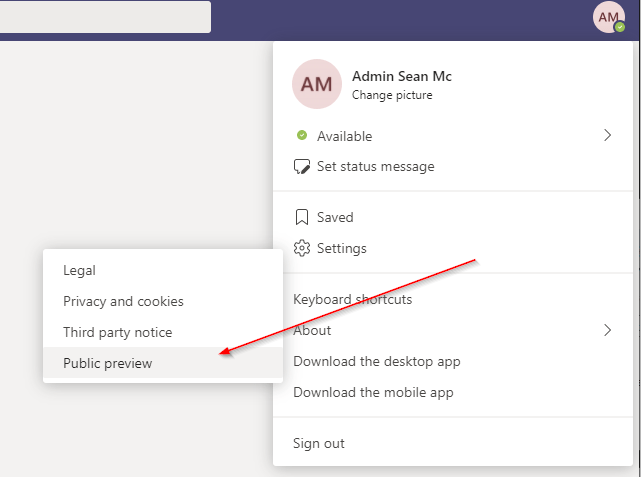
As a user, once the policy is updated we can turn on Preview Features in the Web and Desktop clients by opening up the Teams menu, navigating to “About” and clicking “Public Preview”
We will then get the prompt with the disclaimer warning and can click “Switch to Public Preview” to enable all the new and upcoming features.
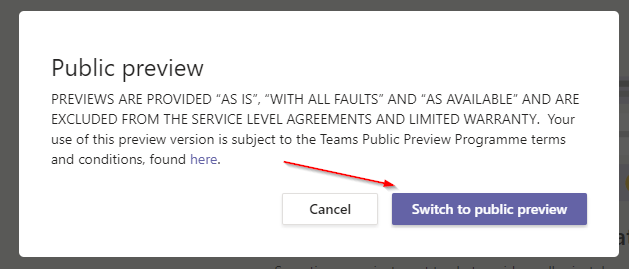
After enabling, restart Teams and that’s it, you’ll have access to the Public Preview version of the Teams client complete with all the Public Preview features to test before the go GA!
