As more organizations move even deeper into Microsoft Teams by adopting Teams Phone System as a replacement for their traditional PBX systems, there are use cases that need to be accounted for outside of users making and receiving calls within Teams.
I’ve detailed the setup of Auto Attendants in a previous post and we can also set up Call Queues to cater for traditional ring/hunt groups. Another example of a requirement to consider when moving to Teams voice, is generic “Common Area Phones”. For example, a phone that sits in reception for use by anyone. These devices are generic so having a user log in each time they want to use them is not feasible.
Within Teams, Common Area Phones can be set up to provide this functionality without requiring a user to login.
Prerequisites
To get started configuring Common Area Phones (CAP), you need to have:
- Sufficient Common Area Phone Licenses for all your devices
- Phone numbers and Routing available to assign through Calling Plans or Direct Routing to make external calls
- Install the latest Microsoft Teams PowerShell Module on your machine
Check out these articles for more information on setting up Direct Routing:
Configure Microsoft Teams for Direct Routing – Sean McAvinue
Configure Teams Direct Routing, Simple Deployment via PowerShell – Sean McAvinue
Getting Started
To configure CAP for your devices, the following steps are required:
- Create a new user account and assign the CAP license
- Create and assign an IP Phone Policy
- Configure the Teams account for the CAP and assign a Phone number
- Provision the device
Create a New User Account and Assign the CAP License
This is the easy part, create a new user account in Office 365 and assign the Common Area Phone license as per Figure 1.

Create and Assign an IP Phone Policy
To create a new IP Phone Policy, connect to Microsoft Teams PowerShell and run the “New-CDTeamsIPPhonePolicy” cmdlet. The available parameters for this cmdlet are detailed here and for this example we will be configuring the following:
- Policy Name is “Common Area Phones”
- Sign in mode is “CommonAreaPhone”
- The Home Screen is disabled
- Better Together mode is disabled
- Hotdesking is disabled
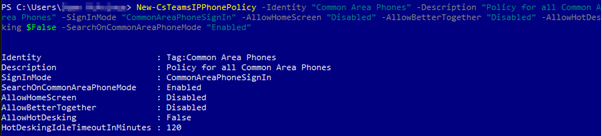
To create the new policy with the above parameters, run the below command in a Teams PowerShell Session:
New-CsTeamsIPPhonePolicy -Identity "Common Area Phones" -Description "Policy for all Common Area Phones" -SignInMode "CommonAreaPhoneSignIn" -AllowHomeScreen "Disabled" -AllowBetterTogether "Disabled" -AllowHotDesking $False -SearchOnCommonAreaPhoneMode "Enabled"
The output of this command should summarise the new policy as shown in Figure 2.
When the policy is created, assign it to the CAP account with the below command:
Grant-CsTeamsIpPhonePolicy -Identity account@domain.com -PolicyName “Common Area Phones"
Configure the Teams Account for the CAP and Assign a Phone Number
Next, to configure the CAP Account we need to add it to the correct Voice Routing Policy and Dial Plan for our organization. This can be done in the Teams Admin Center or by using the below commands:
Grant-CsOnlineVoiceRoutingPolicy -Identity account@domain.com -PolicyName <PolicyName>
Grant-CsTenantDialPlan -Identity account@domain.com -PolicyName <PolicyName>
Finally, assign a number to the account, this can be done through the Teams Admin Center for Dial Plans or via PowerShell for Direct Routing setups using the below command:
Set-CsUser -Identity account@domain.com -OnPremLineUri tel:<AssignedTelephoneNumber> -EnterpriseVoiceEnabled $true
Make sure to substitute the <Assigned Telephone Number> for the number you want to assign.
Provision the Device
With everything in place, provision the device from the Teams Portal. To do this, navigate to “Devices” -> “IP Phones”. Select “Provision Devices” from the action dropdown and add the device by MAC address as shown in Figure 3.
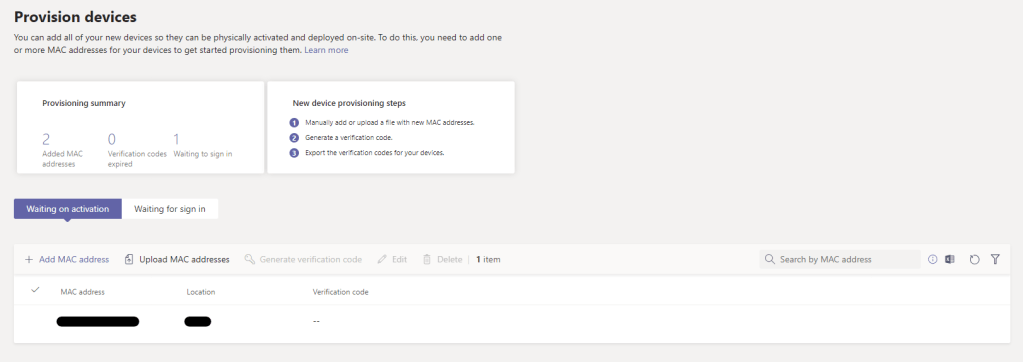
Click the option to “Generate Verification Code” and take note of the code.
Note: The next steps may vary per device.
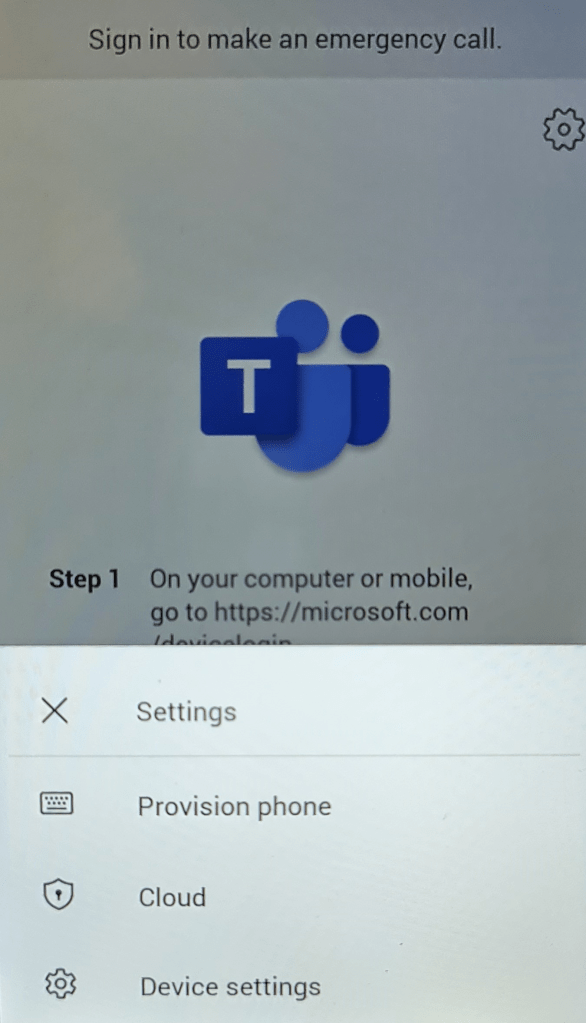
On the device, select the settings menu and tap the “Provision Phone” option (Figure 4).
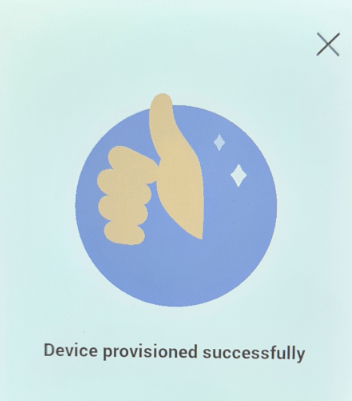
On the provision phone page, enter the code that was generated in the Teams admin page. Once done, a message will display confirming the phone has been provisioned successfully (Figure 5).
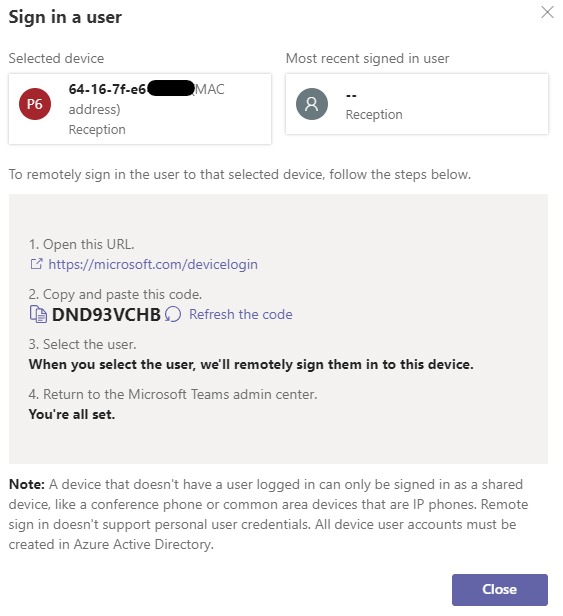
Once the phone is provisioned, navigate back to the Teams Admin Center and under “Devices” -> “IP Phones” open the “Waiting for Sign in” tab. This page will list all provisioned devices that haven’t been signed in. Click the “Signed Out” button to open the sign-in page (Figure 6). From here, copy the code and navigate to the device login page where you can sign in as the Common Area Phone account to sign the phone in.
And that’s it, once the CAP account is signed in, the phone is connected and ready for use!
